Easter Painted Rocks
As an Amazon Associate, I earn from qualifying purchases. This post may contain affiliate links. See our full disclosure here.
Easter is the perfect time to get creative and make some colorful and fun easter painted rocks. The best part about painting rocks for Easter is that it’s a craft that can be enjoyed by kids and adults. How fun would it be to set-up a rock painting table for the family to enjoy before an easter egg hunt.
Or maybe you can do some easter rock hunting with easter egg painted rocks that you can hide. You can also just paint cute easter designs like an easter chick or peter rabbit. See below for the best supplies for rock painting, how to paint rocks and get some easter rocks design inspiration.
Easy DIY Easter Painted Rocks
Supplies for Easter Themed Rock Painting (affiliate links provided for convenience)
-
- Rocks – Amazon has some great smooth rocks if you can’t find any outside.
- Paint Pens – A favorite among rock artists are Posca Paint Markers and Tooli-Art paint pens.
- Black fine liner pen for details.
- Acrylic Paint
- Paint Brush
- Dimensional Paint – This is a great option for making easter egg painted rocks.
- Sealant – I like this glossy sealant.
Check out my guide for more details on the best supplies to use for painting rocks.

How to Paint Easter Rocks – Tips and Tricks
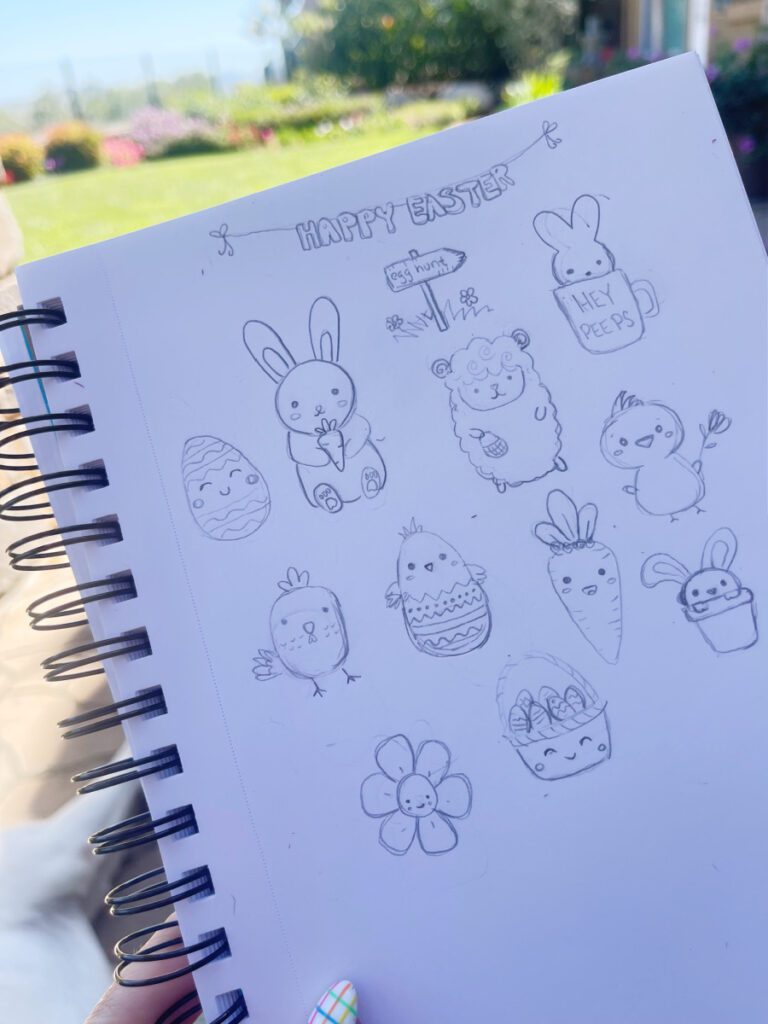
1. Sketch Your Design
Start by sketching your designs in a sketchbook or on a piece of paper. I find it’s much easier to figure out your design on paper first.
2. Draw the Outline on the Rock
Using a pencil, lightly sketch the design outline onto the rock.
3. Paint a Base Coat
With acrylic paint, paint the basic design. Don’t worry, you’ll fill in the details later.
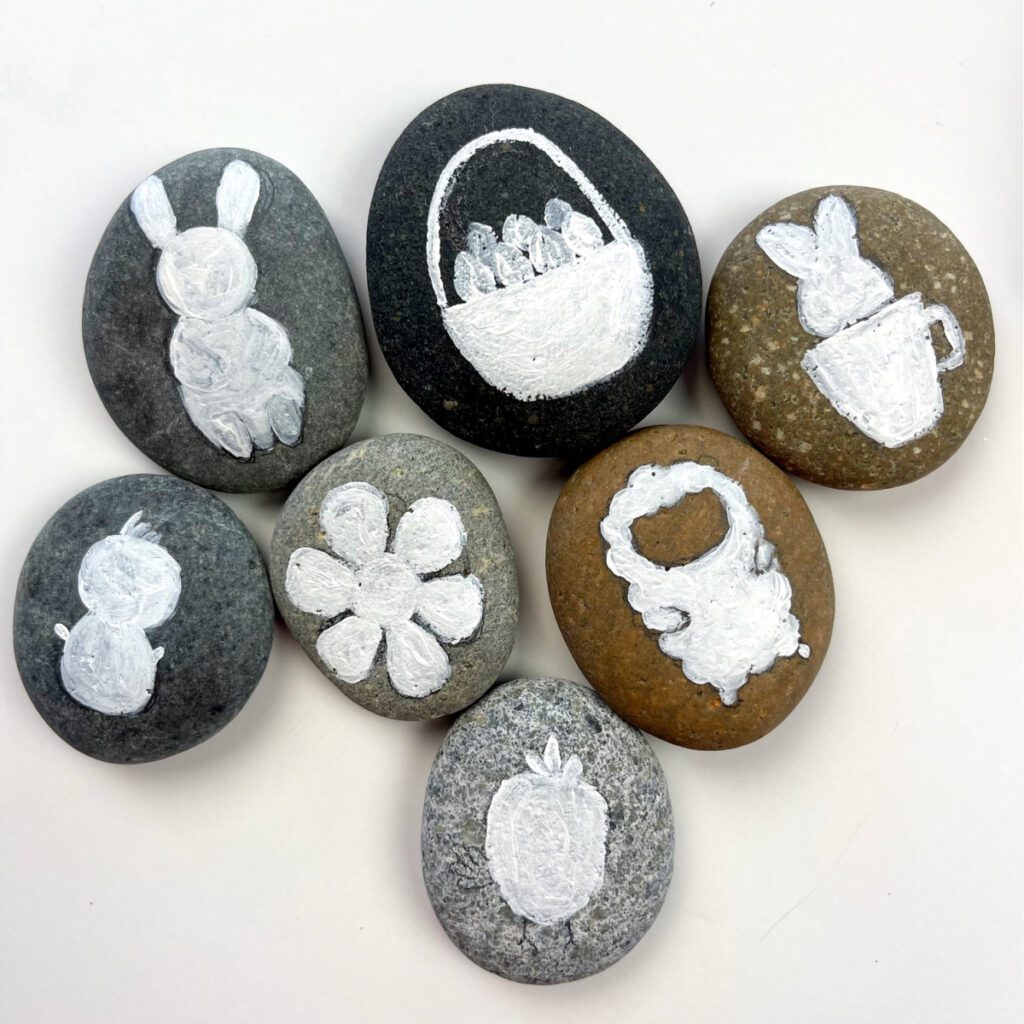
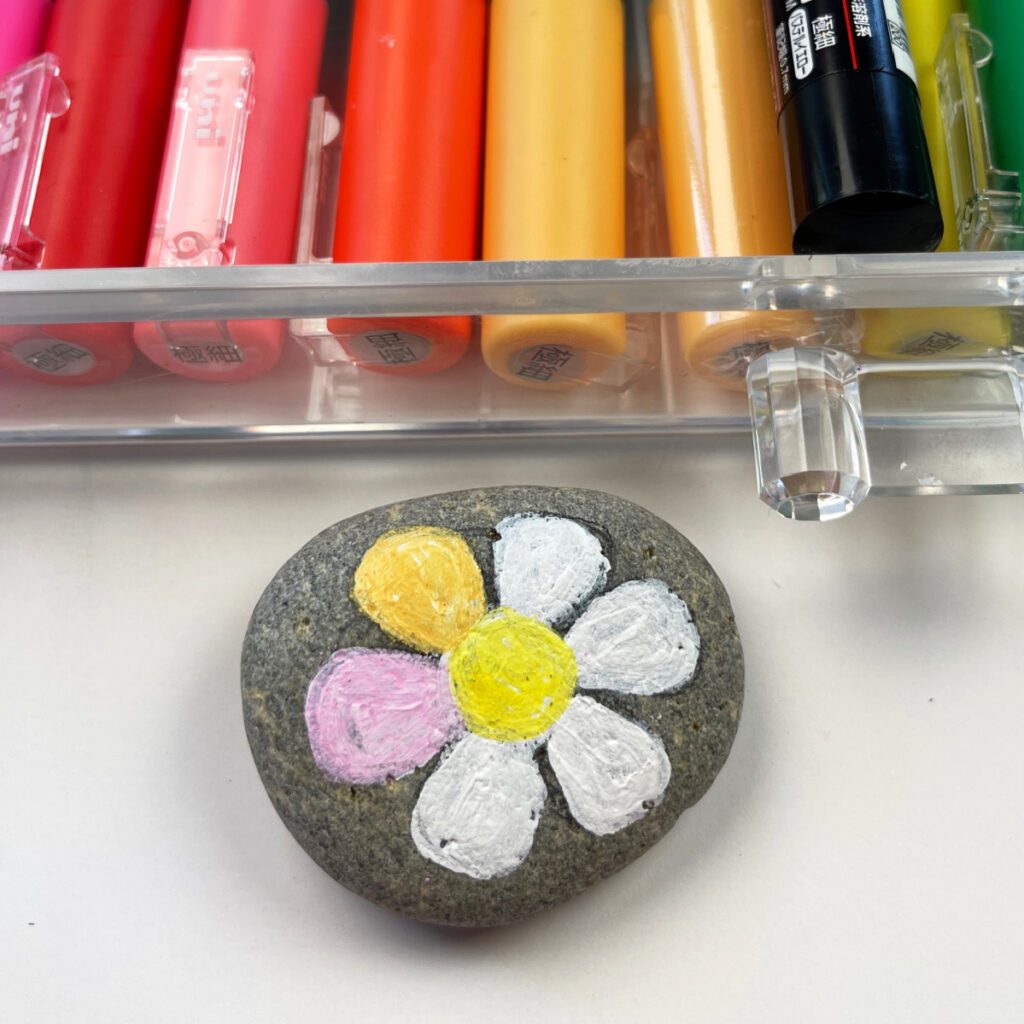
4. Fill it the Design
Once your white design is completely dry, use your paint pens or acrylic paint to fill in the design. Let your rock dry completely before the next step.
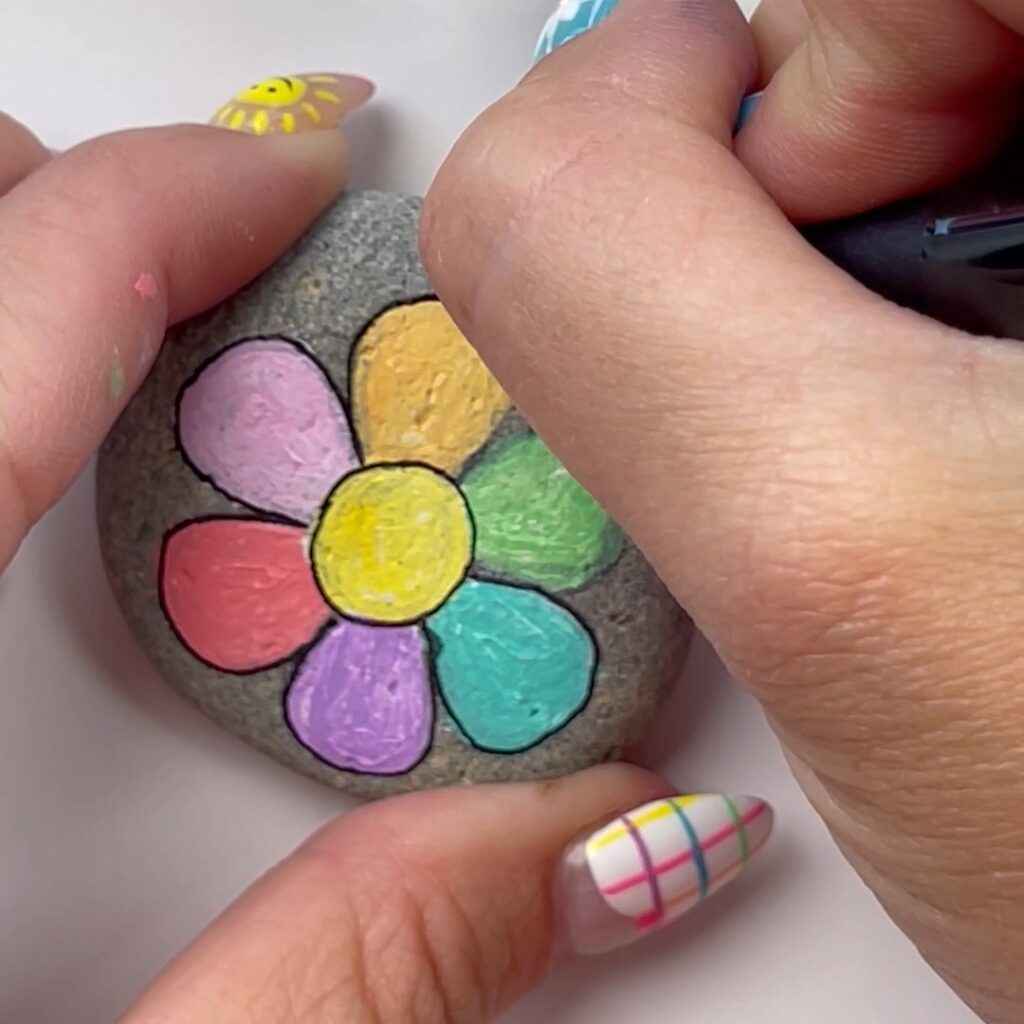
5. Add Details
Using a black fineliner pen outline your design and add any details. This final step is what really makes your design pop.
How to Make Painted Easter Rocks – Quick Step by Step
- Sketch out your design on a sheet of paper.
- Outline the design on your rock lightly.
- Apply a base coat of white paint covering your sketch and let it dry.
- Fill in the design with color.
- When that’s dry, add fine detail with marker.
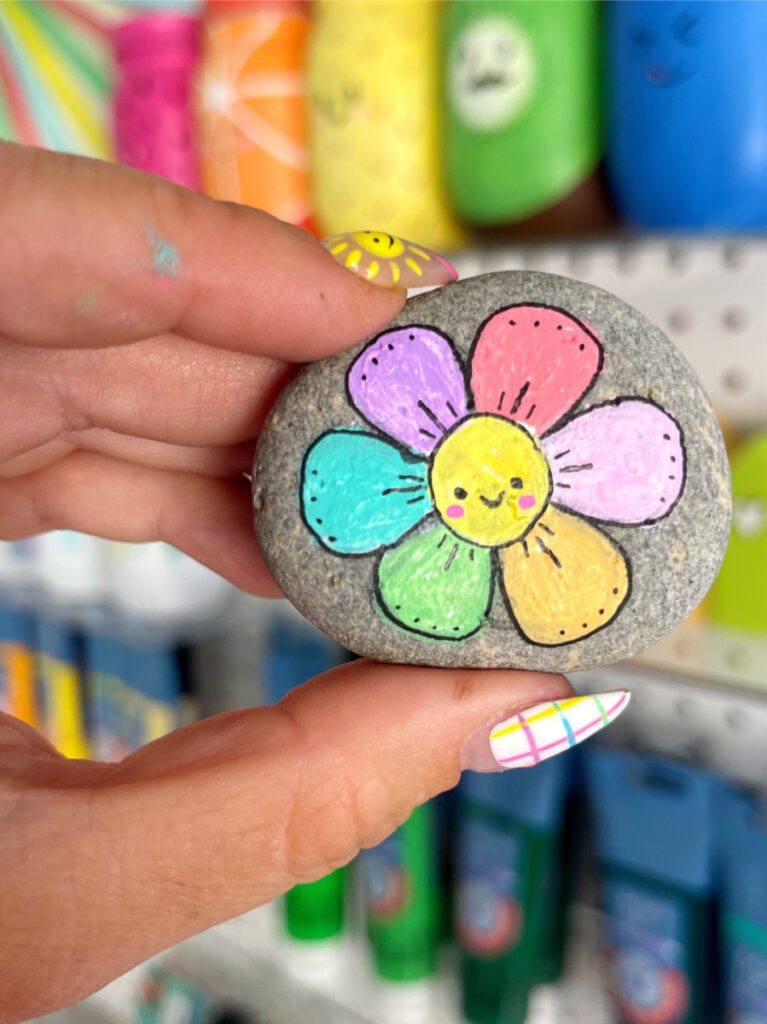
Rock Painting Designs for Easter
Here’s some of my favorite Easter themed rock painting designs. Some of them are also cute spring DIY rock painting ideas!
Easter Egg Rock Painting Ideas
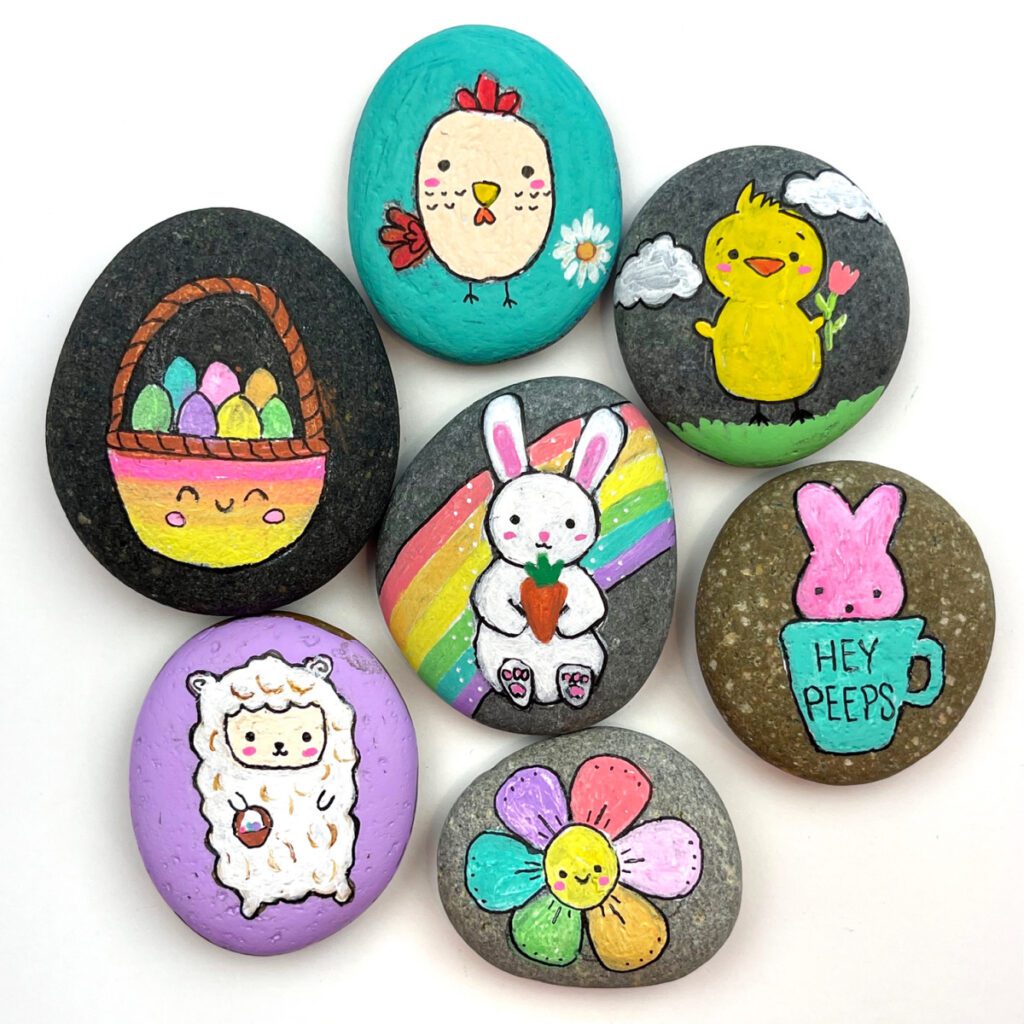
These colorful easter egg rocks are made using dimensional paint. See the full tutorial here on how to make them. The key is to look for egg shape rocks but don’t worry if you can’t find them. Easter designs look great on any shape. 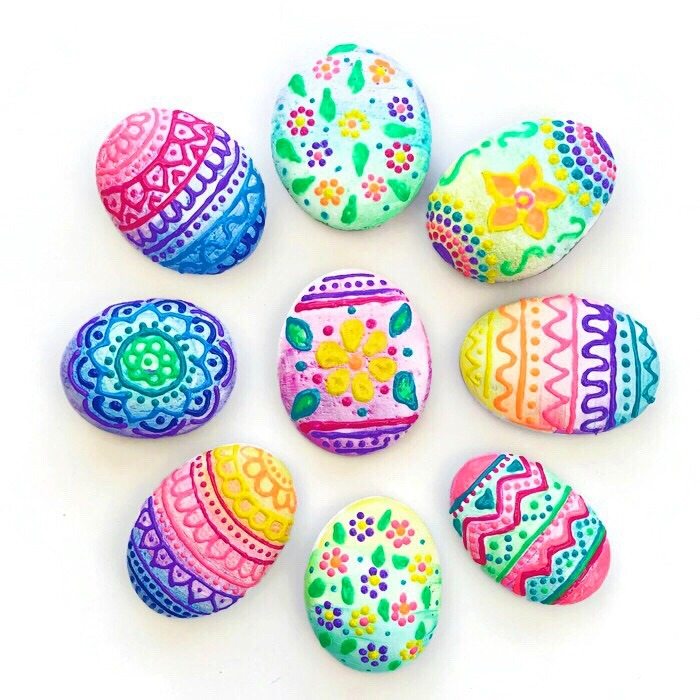
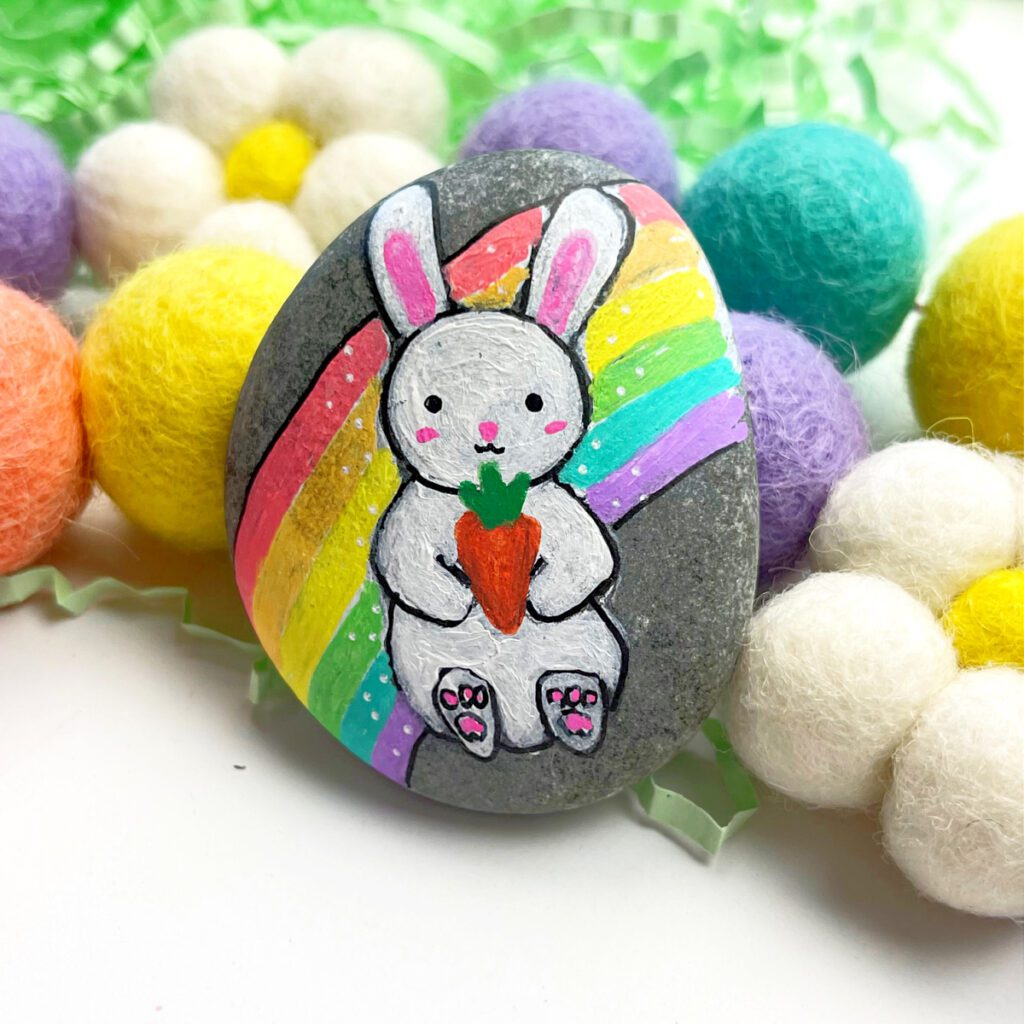
Easter Bunny Painted Rocks
This cute bunny rock is sure to make anyone smile. You can add in any background design and even have it holding something different like an easter basket or easter egg.
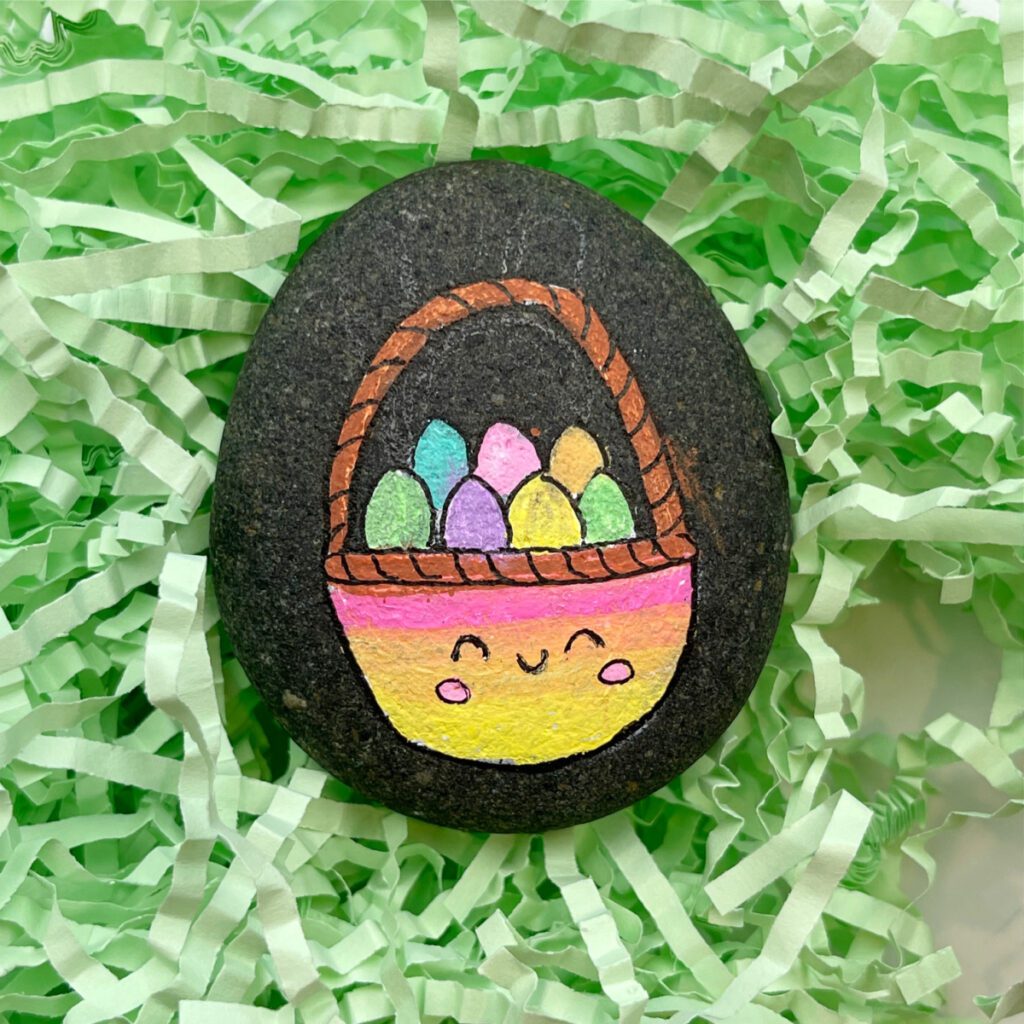
Easter Basket Painted Rock
This Easter basket egg rock painting is so cute! Use it as inspiration for your Easter crafts.
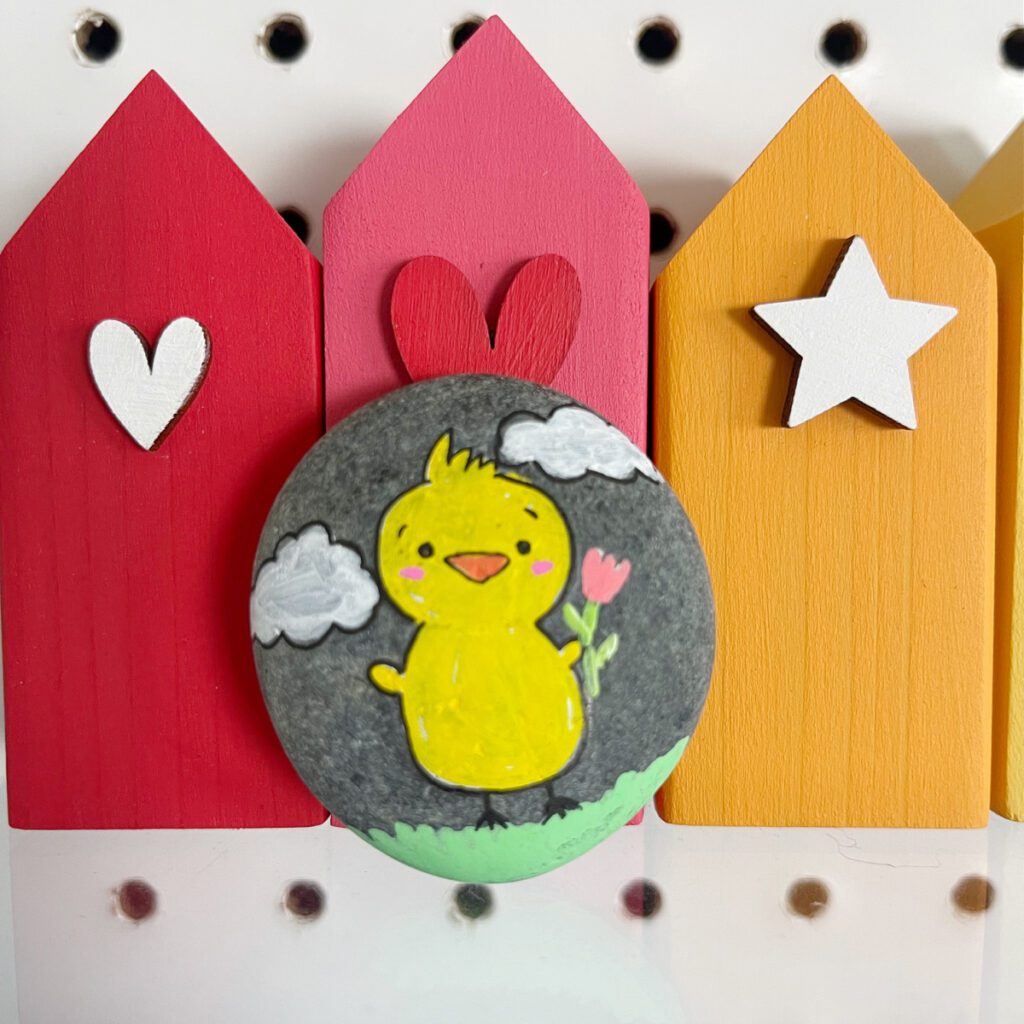
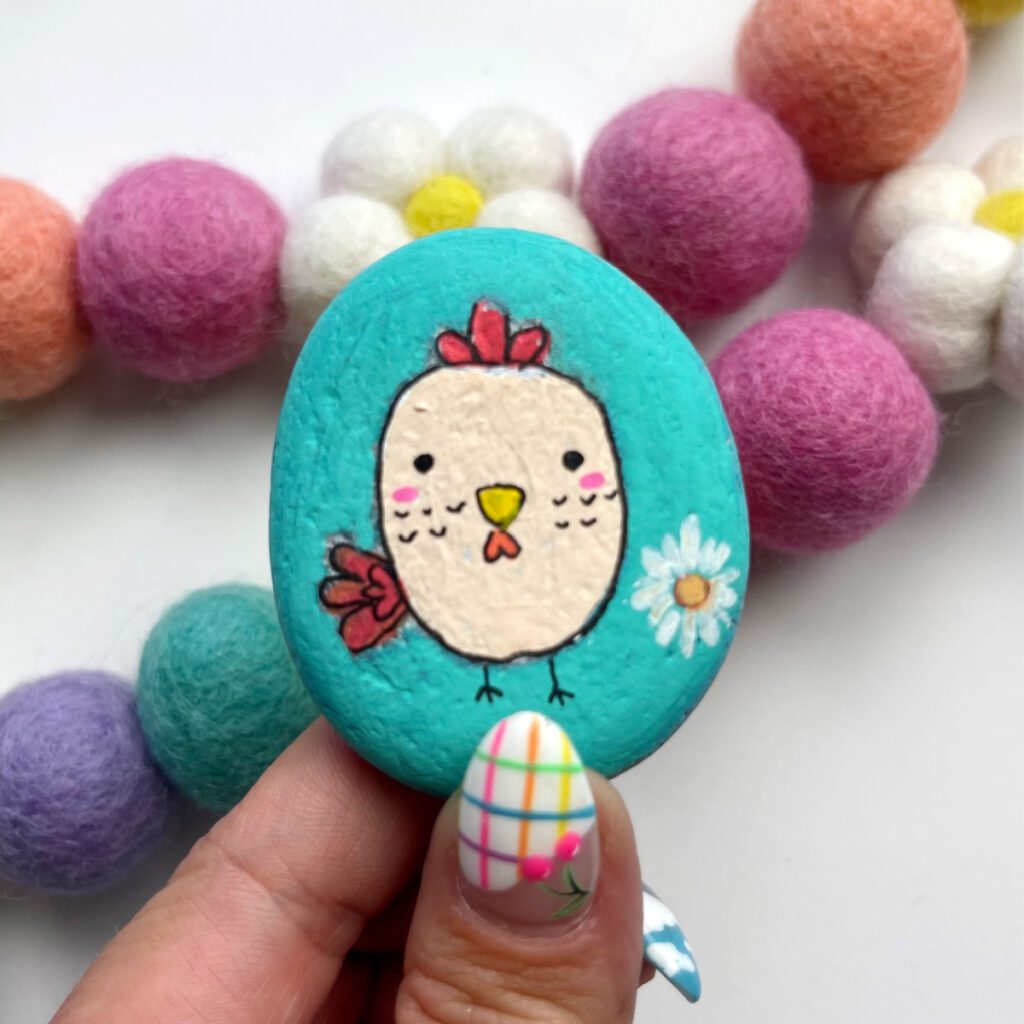
Chick Rock Painting Idea
You can’t paint Easter rocks without chicks! Use your imagination to add some spring themed details.
Rooster Painted Rock
This little rooster is oh so cute and easy to paint on rocks.
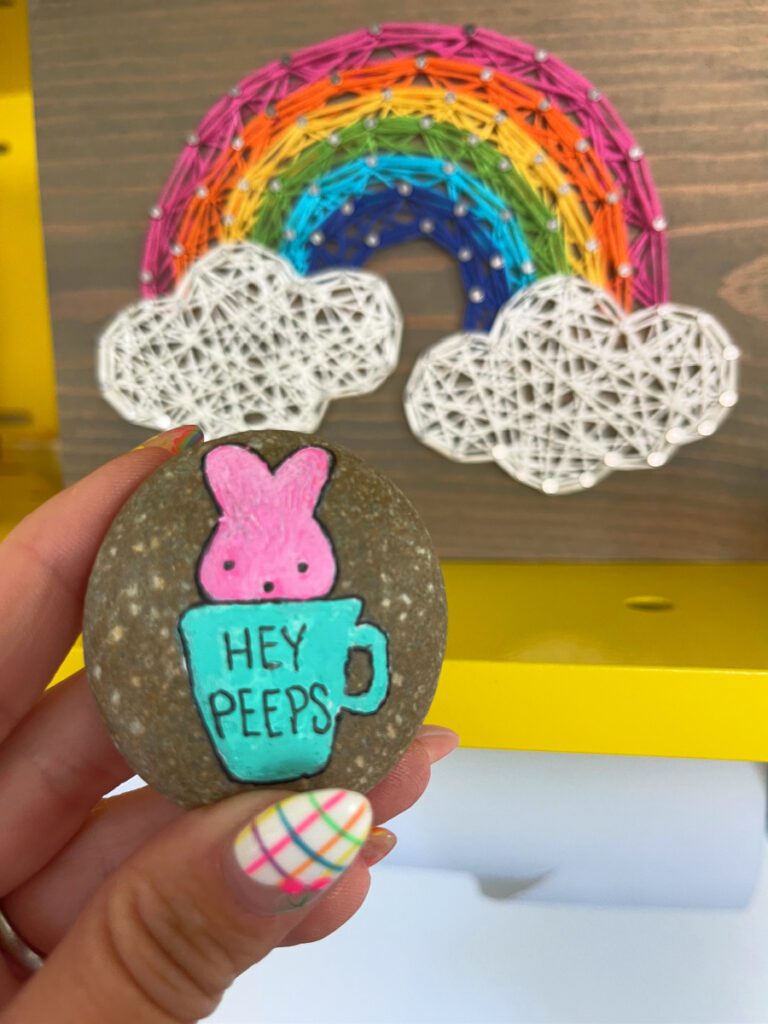
Peeps Painted Rock Idea
Peeps are definitely invited to the Easter rock painting party! This one might hurt your teeth, though.
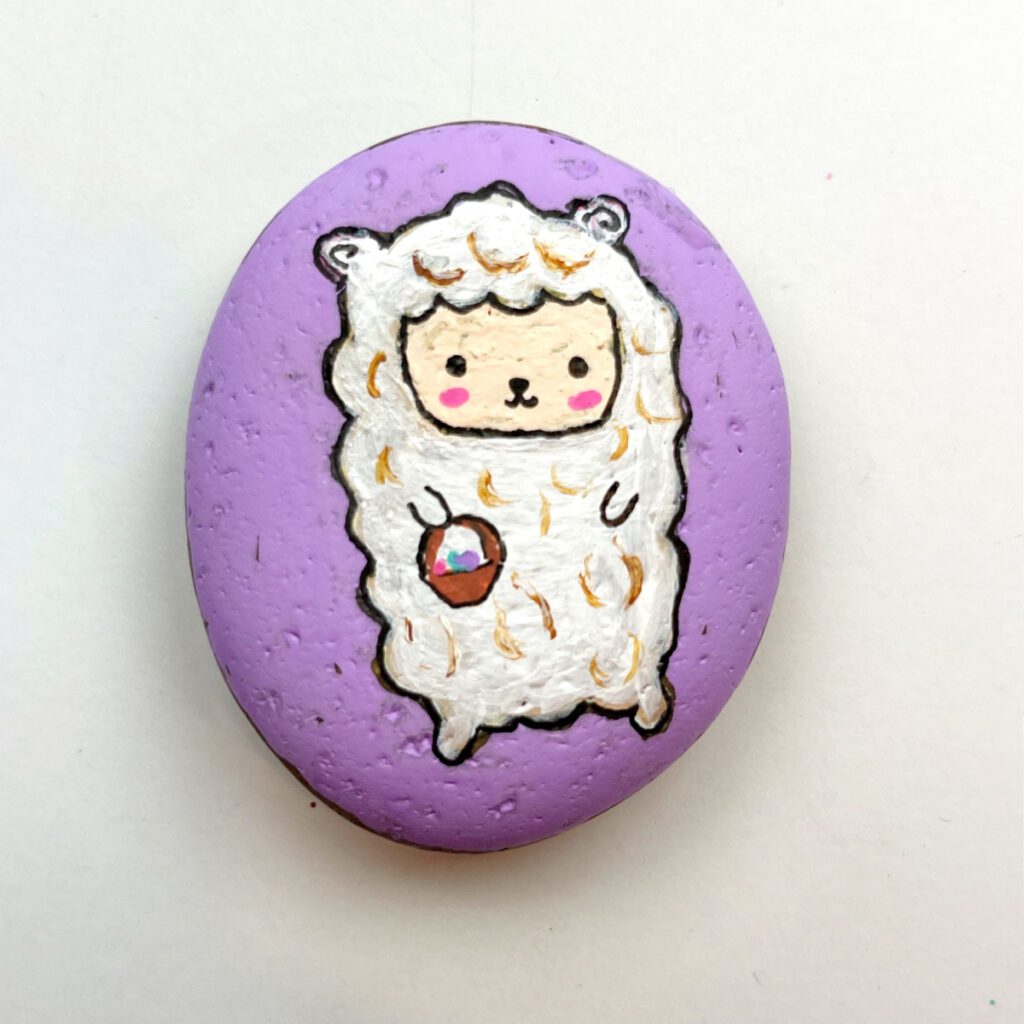
Lamb Painted Rocks for Easter
A fluffy little lamb painted rock – look, the lamb is holding an Easter basket too!
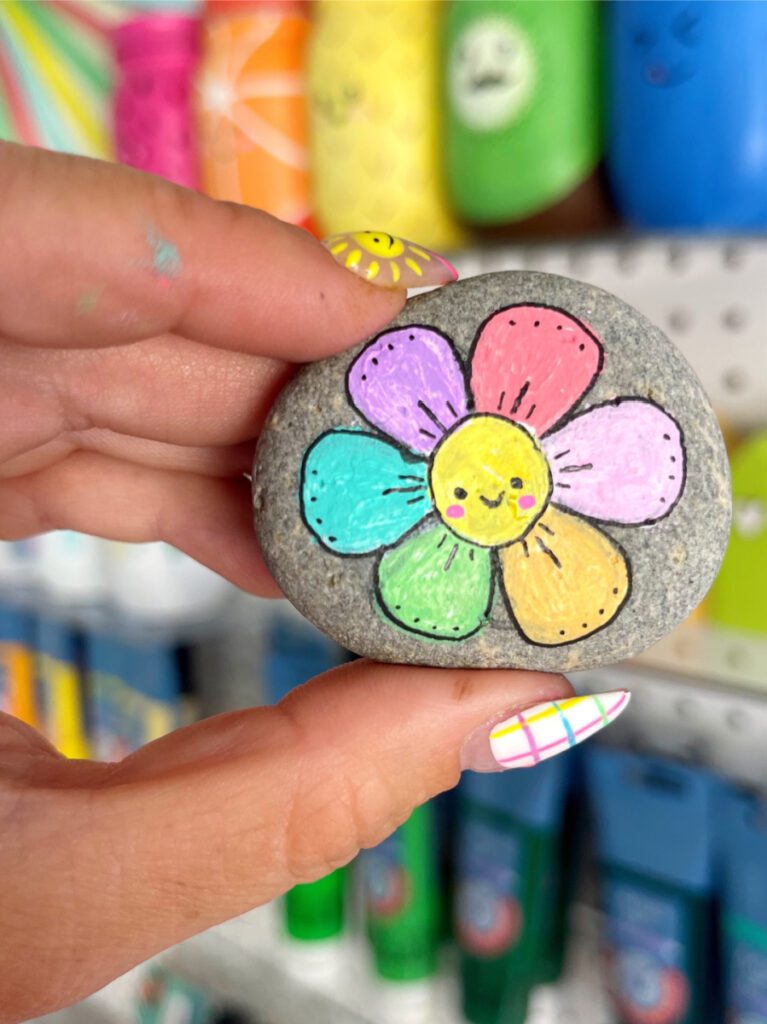
Flower Painted Rock
Flower painted rocks are perfect to add some spring colors to your rock painting activity. Start with simple designs like this one, or paint any type of flower you like best.
Painting rocks is such a fun craft that everyone can enjoy. Would love to see your painted Easter rocks. Come find me on social media @Colormadehappy and share what you’ve created!
