Pumpkin Mason Jars Fall Craft
As an Amazon Associate, I earn from qualifying purchases. This post may contain affiliate links. See our full disclosure here.
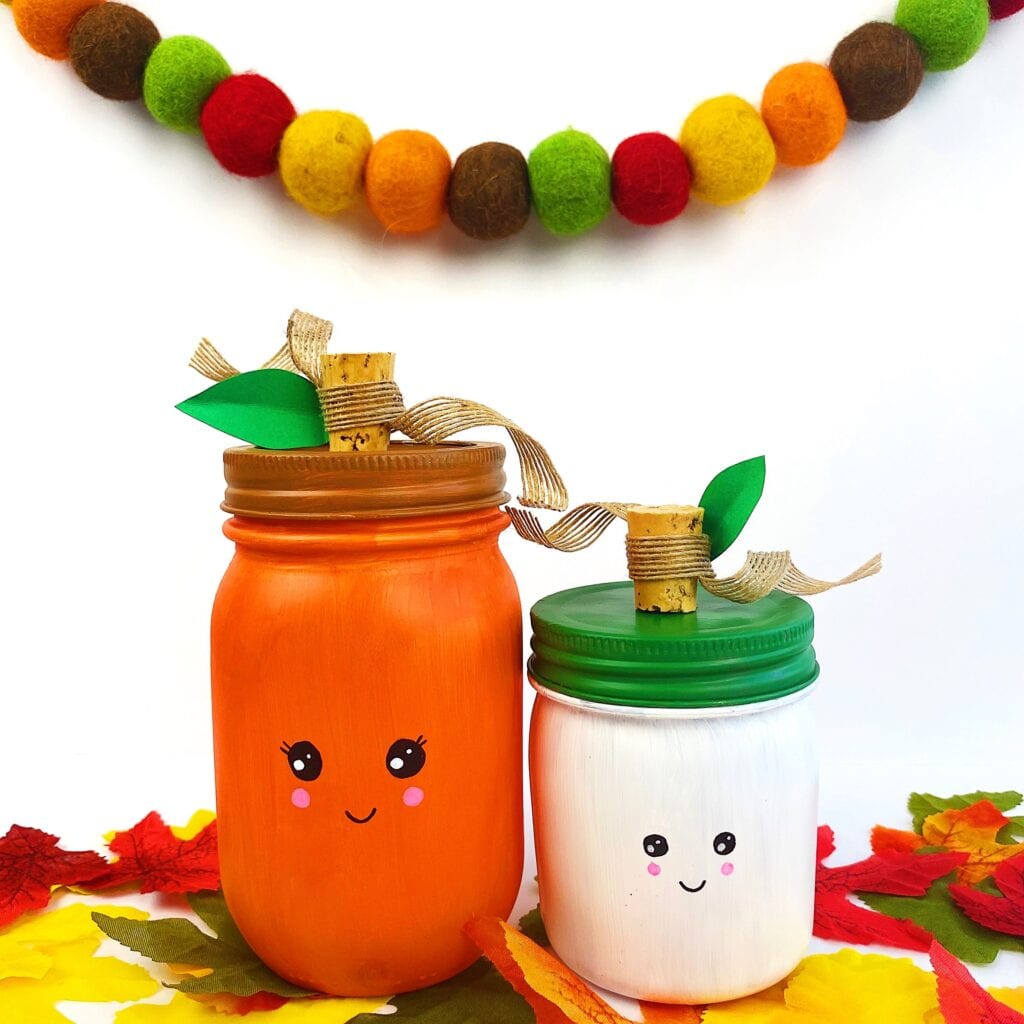
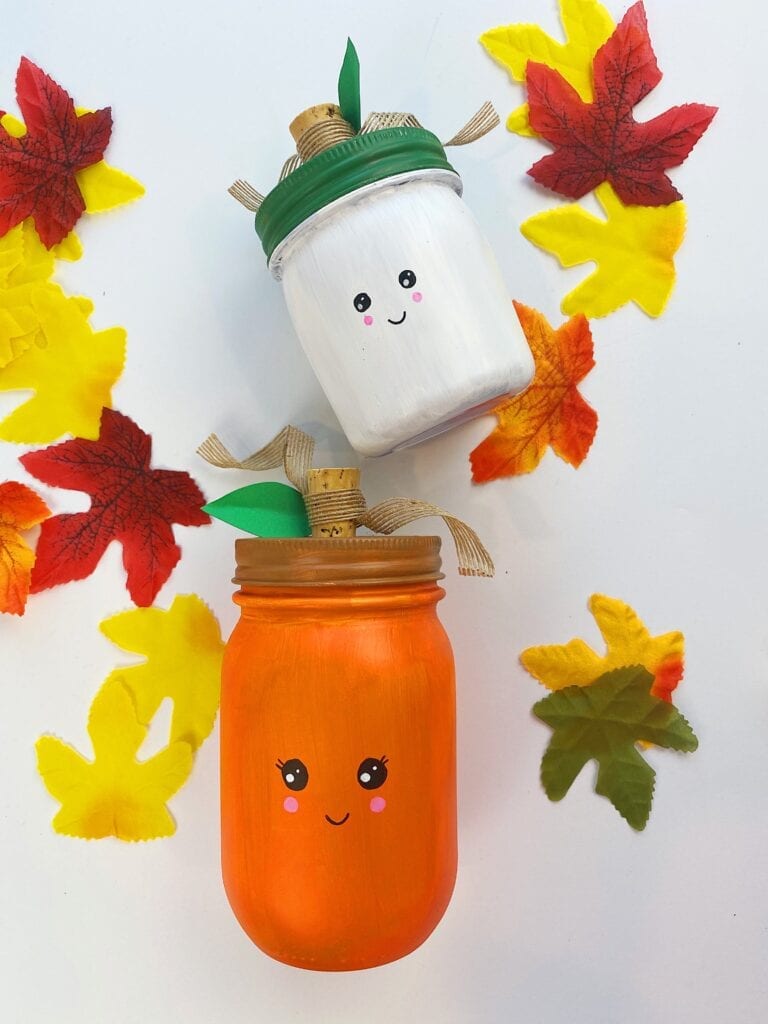
I’ve come to the conclusion that you can pretty much make anything cute just by adding a kawaii face to it. These kawaii pumpkin mason jars are incredibly easy to make and are a perfect fall craft. If you’ve never seen my projects before than you probably have no idea how much I adore painting mason jars.
Check out a few of my other mason for more inspiration: Fruit Mason Jars, School Supplies Mason Jars, and Glitter Mason Jars.
Make This Cute Fall Pumpkin Mason Jar Craft
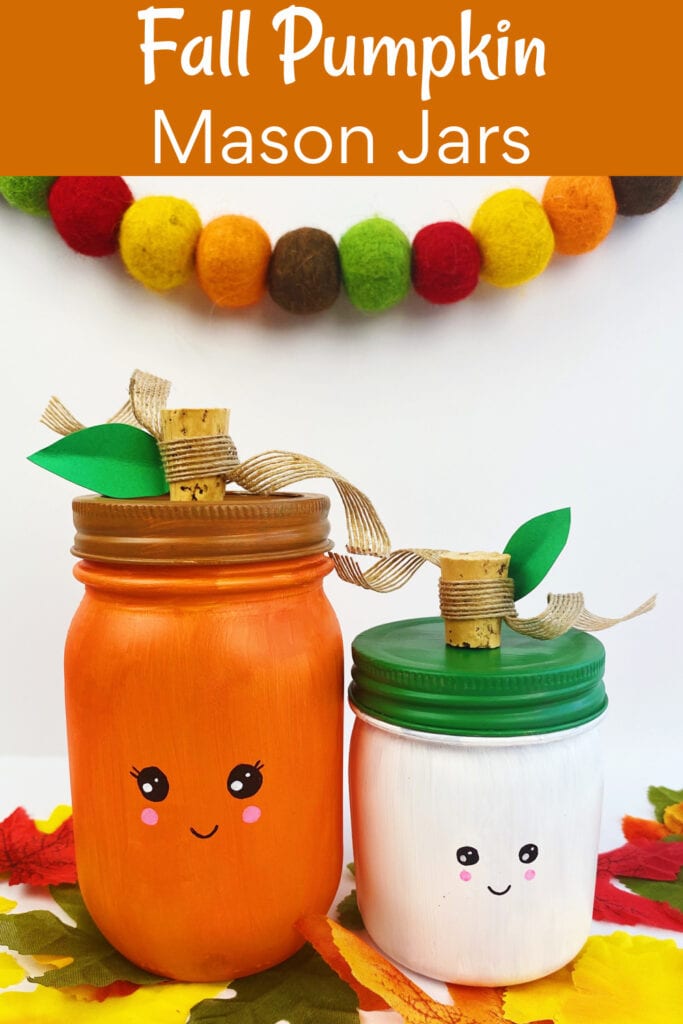
Supplies Needed
- Mason Jars – I used 16oz glass mason jars for the large pumpkin. You could also use these plastic mason jars if you want something non-breakable. Here are great options for smaller jars, 10oz glass and 9oz plastic.
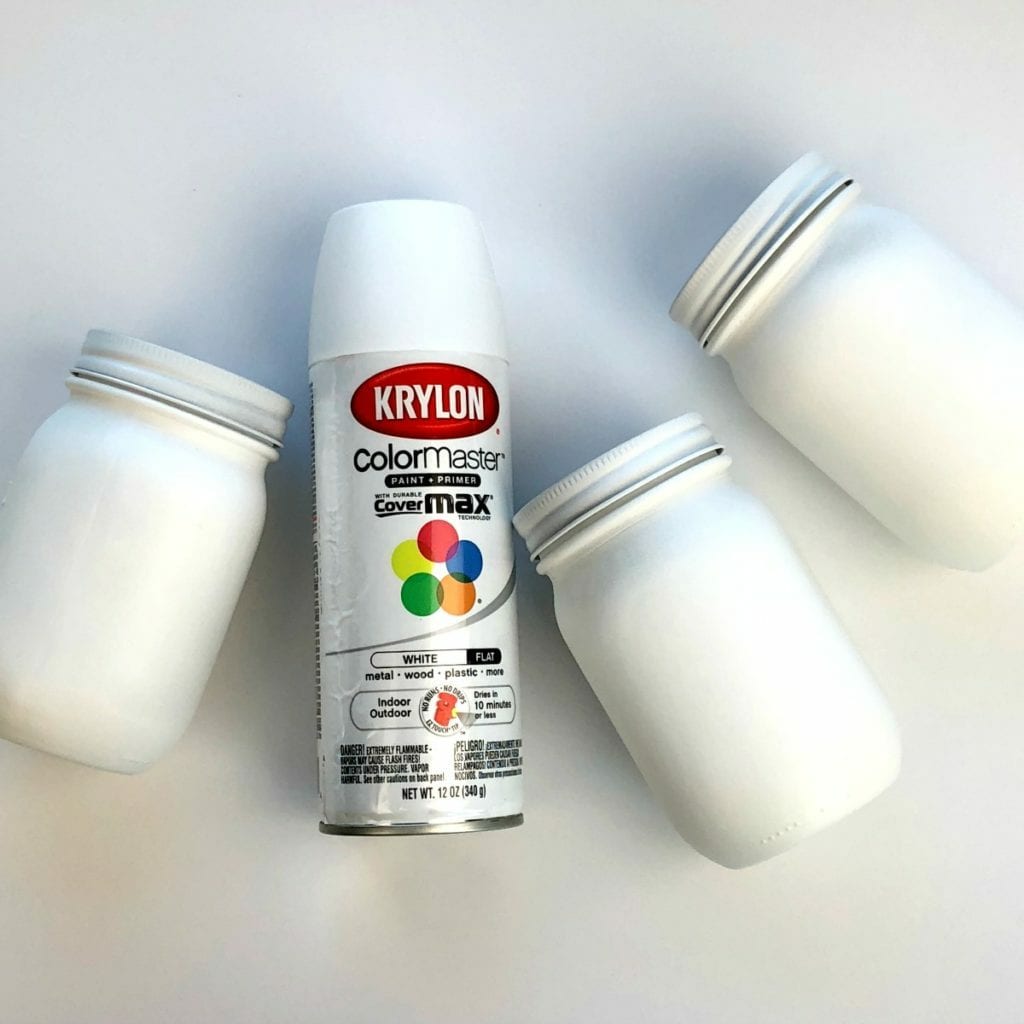
- White Primer – This is my favorite primer because it’s a flat primer and paint in one.
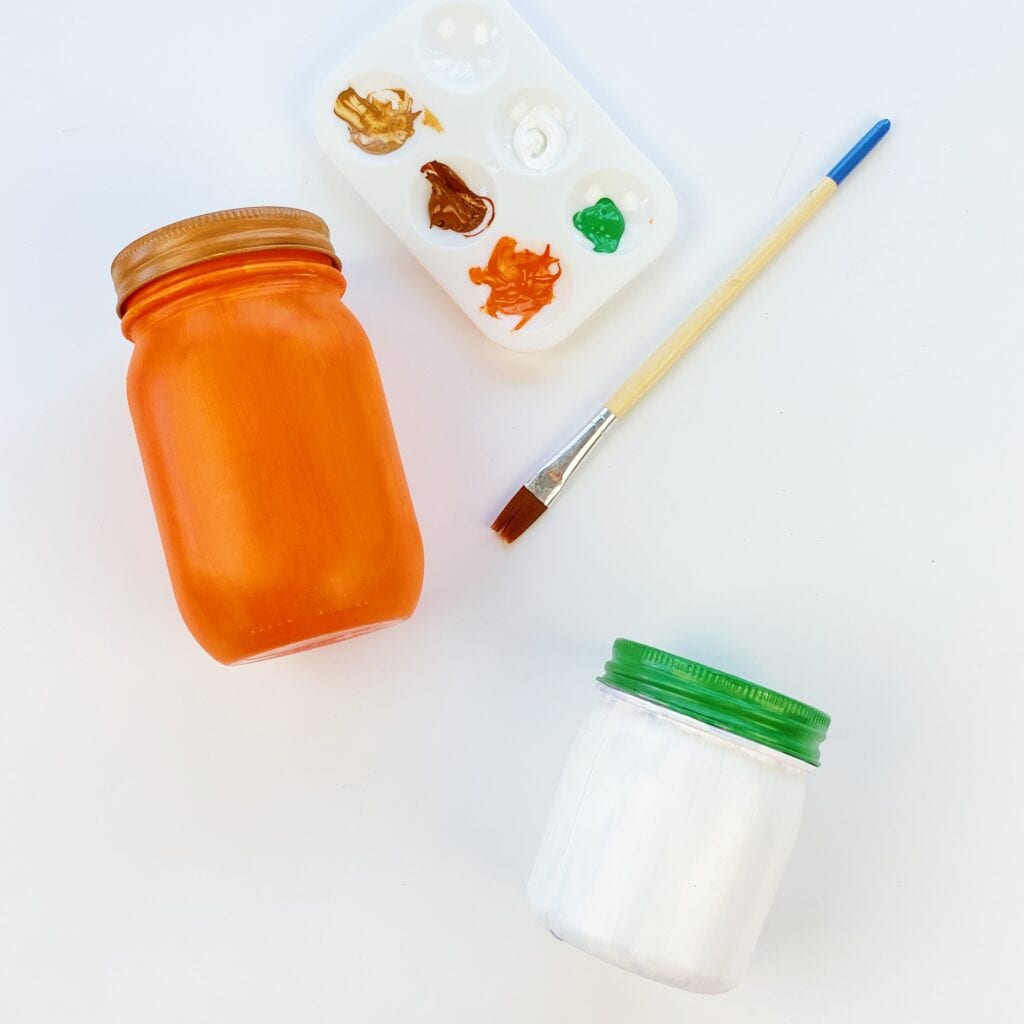
- Acrylic Paint – This is a great acrylic paint brand and there are a ton of color options.
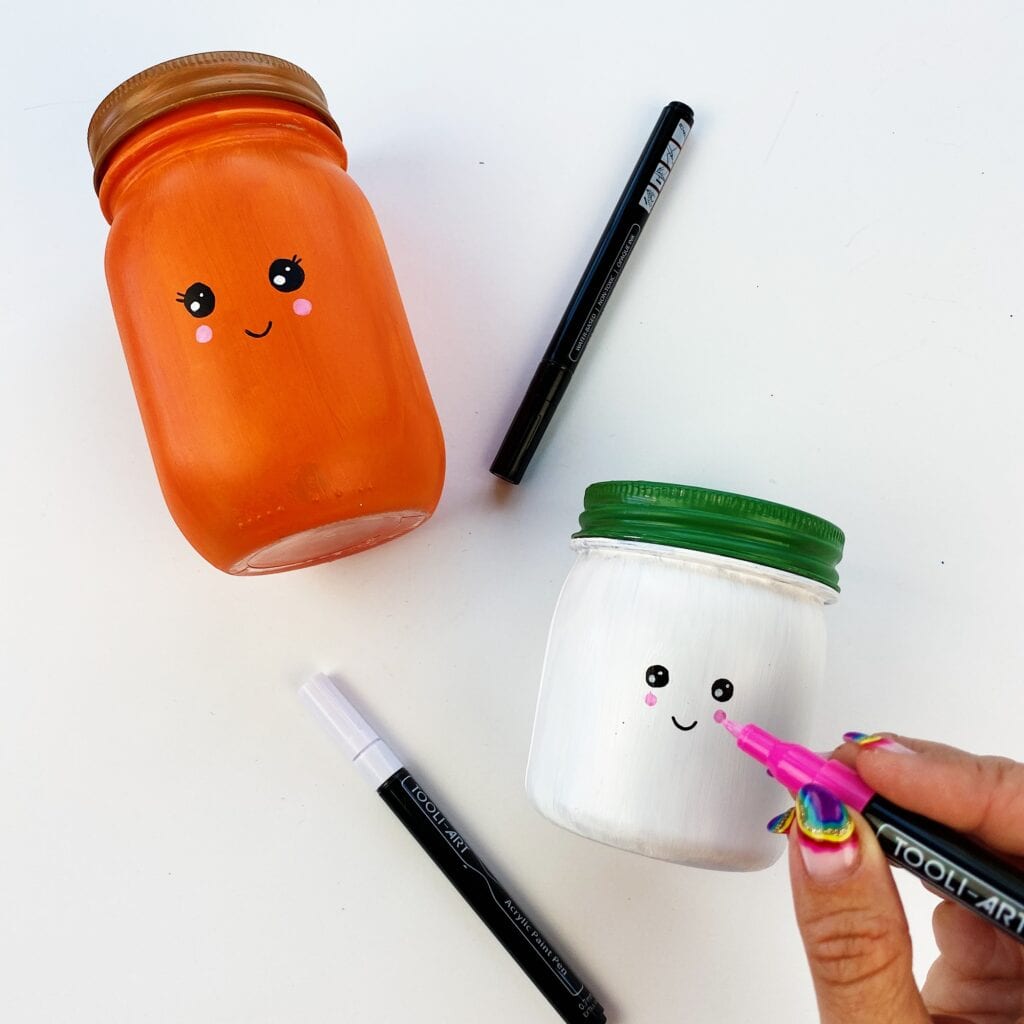
- Paint Markers – I also really love these less expensive paint markers.
- Brushes – I like flat paint brushes for covering mason jars with paint.
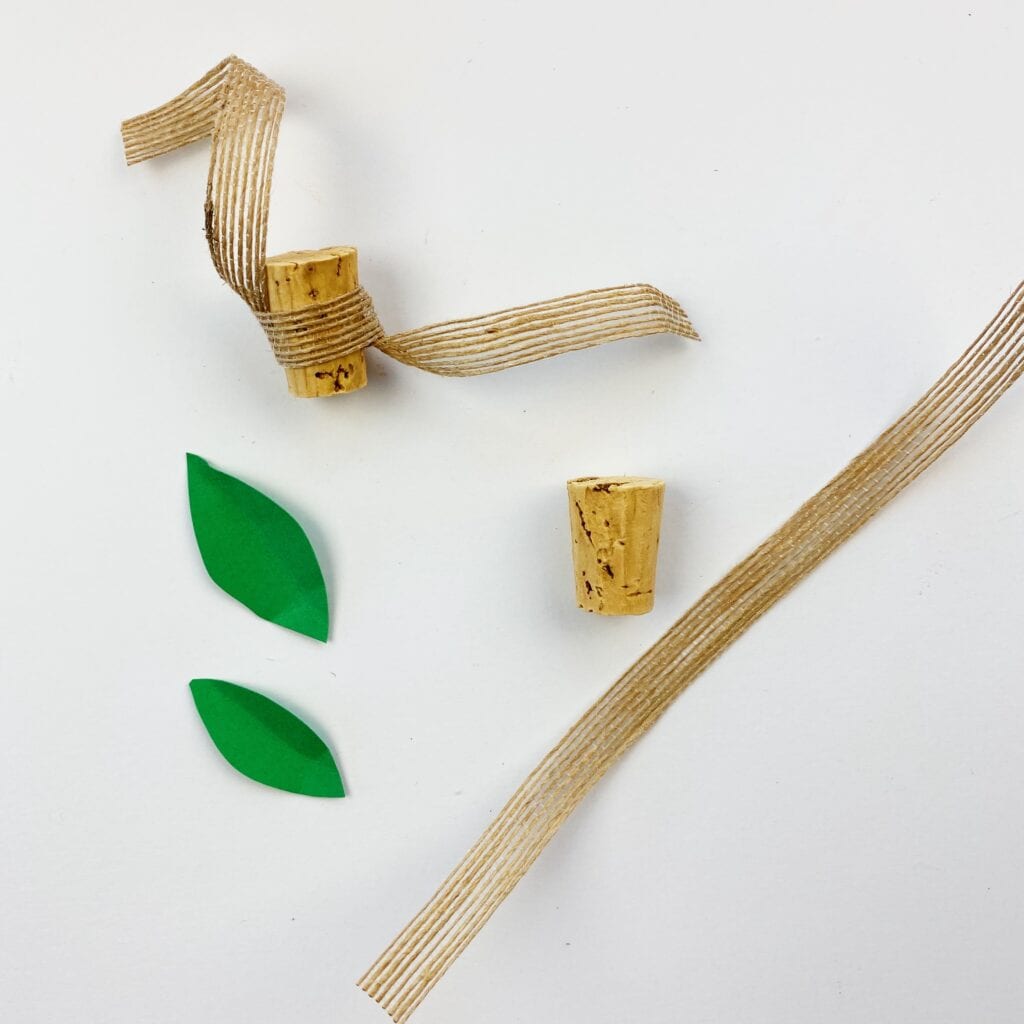
- Corks
- Ribbon – I used a burlap ribbon.
- Green Card Stock
- Sealant (optional) – I often use this matte spray sealant or this gloss spray sealant depending on if I want shine or a matte finish.
How to Paint a Pumpkin Mason Jar for Fall: Step by Step
1. Spay Paint With Primer
Place mason jars mouth down on top of a piece of cardboard and spray evenly with a the flat white primer.
2. Cover the Jar with Acrylic Paint
Next, cover the jars with acrylic paint. You might need 2-3 layers of paint depending on the paint thickness.
3. Sketch the Face
Lightly sketch the faces with a pencil.
4. Fill in With Paint Markers
Go over the pencil sketches with paint markers. For the paint markers be sure to shake them well before using and always test them first on a piece of paper.
NOTE: If you want to seal your jars, do so after this step before you add the cork stem.
5. Add Cork Stem
Tie a piece of ribbon onto each cork and then glue the cork on top of each mason jar.
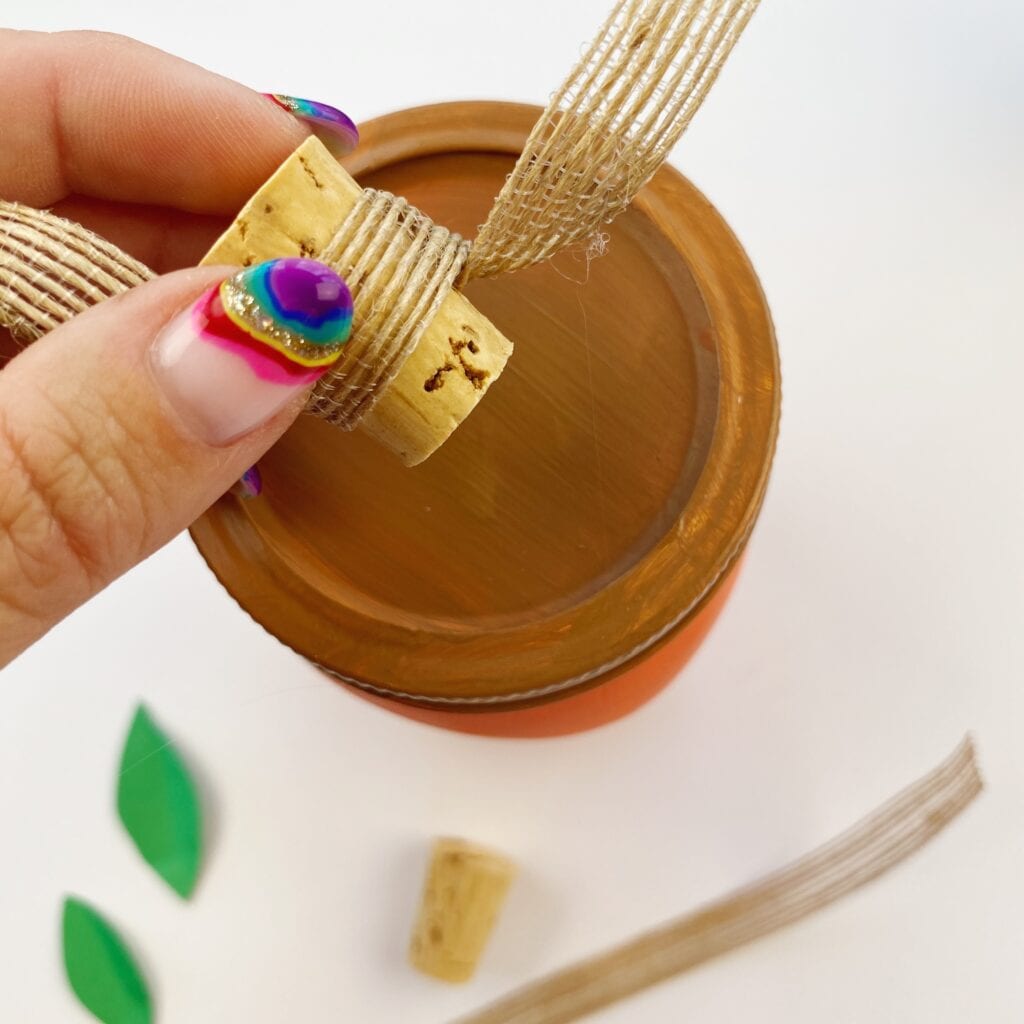
6. Add a Leaf
Add a green leaf cut from card stock. I glued my leaf to the back of the cork.
Hope you are feeling inspired to make your own pumpkin mason jars now! I’d love to see what you create. Come show me on Instagram @Colormadehappy or Facebook!

