How to Draw a Cute Turkey
As an Amazon Associate, I earn from qualifying purchases. This post may contain affiliate links. See our full disclosure here.
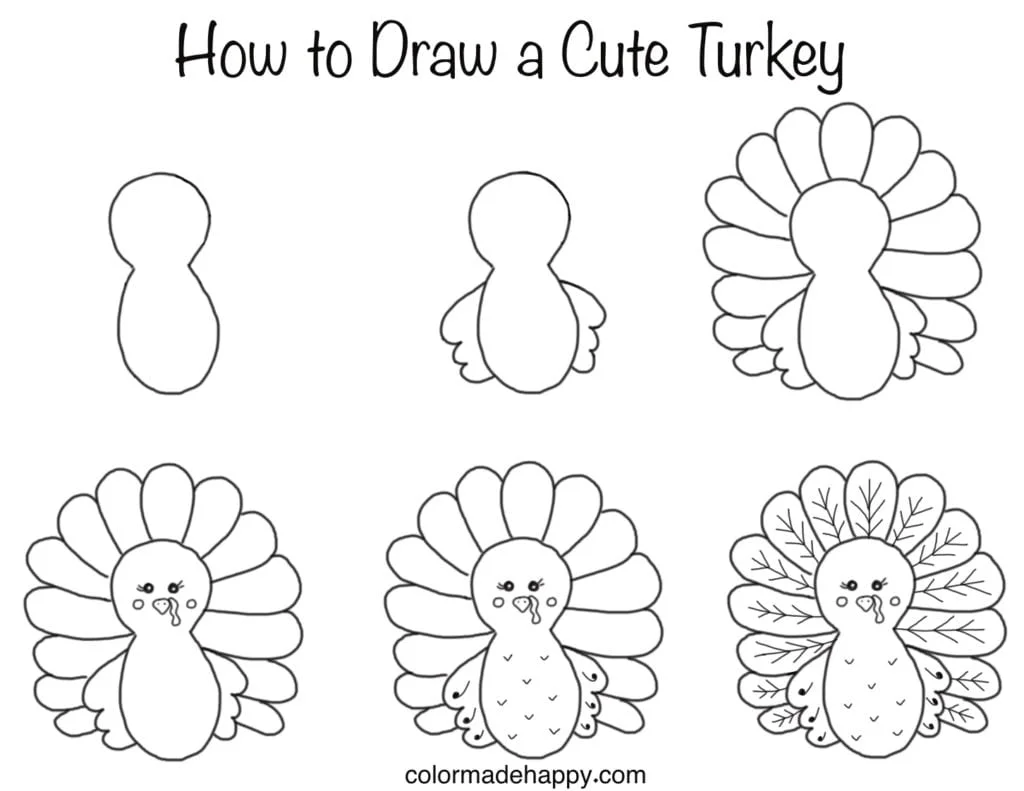
Follow this step-by-step tutorial and learn how to draw a cute turkey for Thanksgiving. Use markers, colored pencils or watercolors to complete your finished turkey. These would make adorable place cards on a Thanksgiving table or cute decoration to attach to Thanksgiving hostess gifts.
If you’ve never drawn a turkey before, it’s actually really easy. These step by step drawing instructions are easy enough for kids to do! But it’s also a great design for adults to learn too, especially if you want to add some handmade doodles to your Thanksgiving decorating.
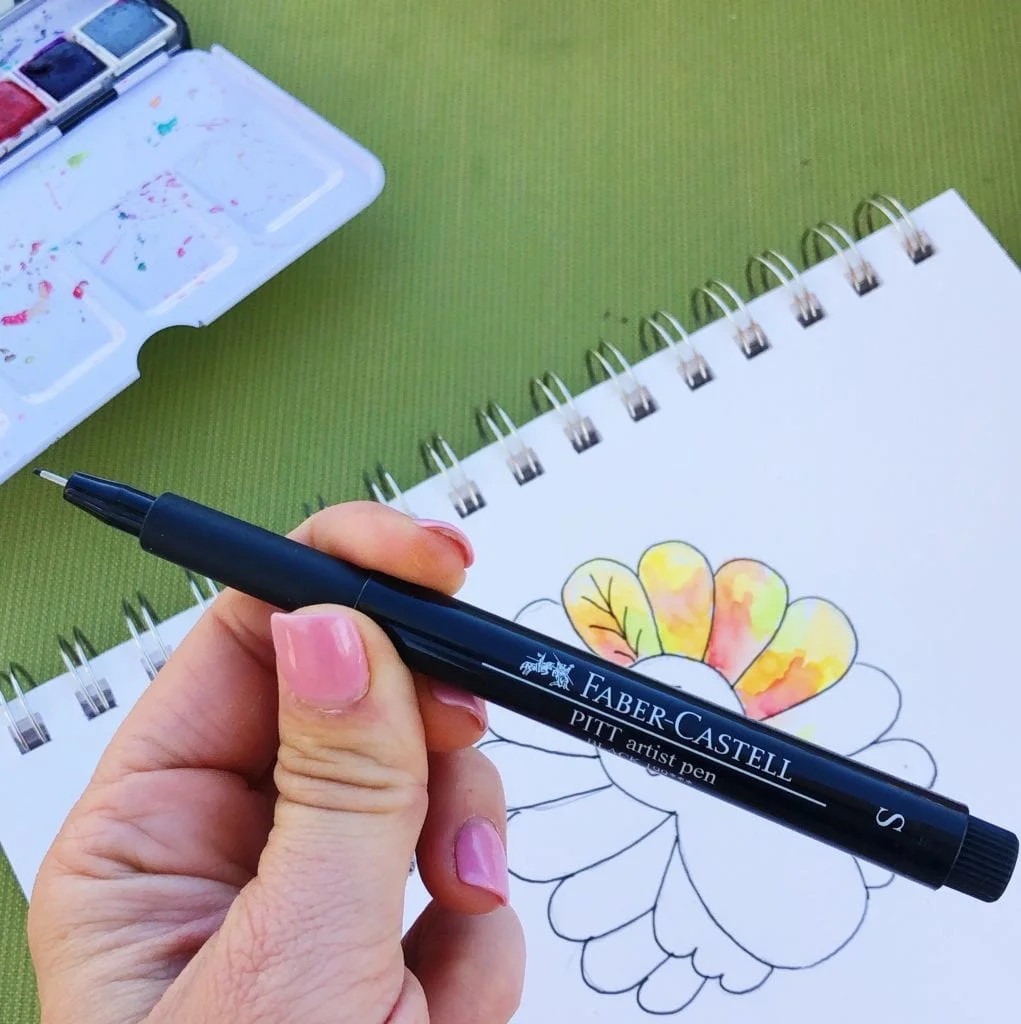
You can also follow the second tutorial on this post to find out how to turn your turkey into a beautiful watercolor painting. It’s so easy!
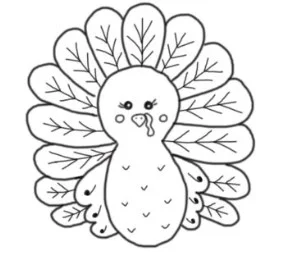
Step by Step Instructions To Learn How to Draw a Cute Turkey
Step 1
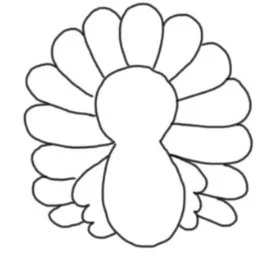
Draw the basic turkey shape.

Step 2
Add wings.

Step 3
Add the feathers.
Step 4
Add your turkey’s face.

Step 5
Add details to the body and wings.
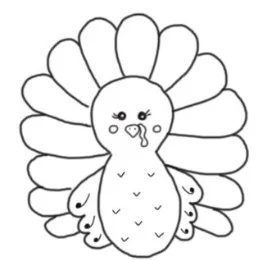
Step 6
Add details to the feathers.
Turn your cute turkey into a beautiful watercolor painting
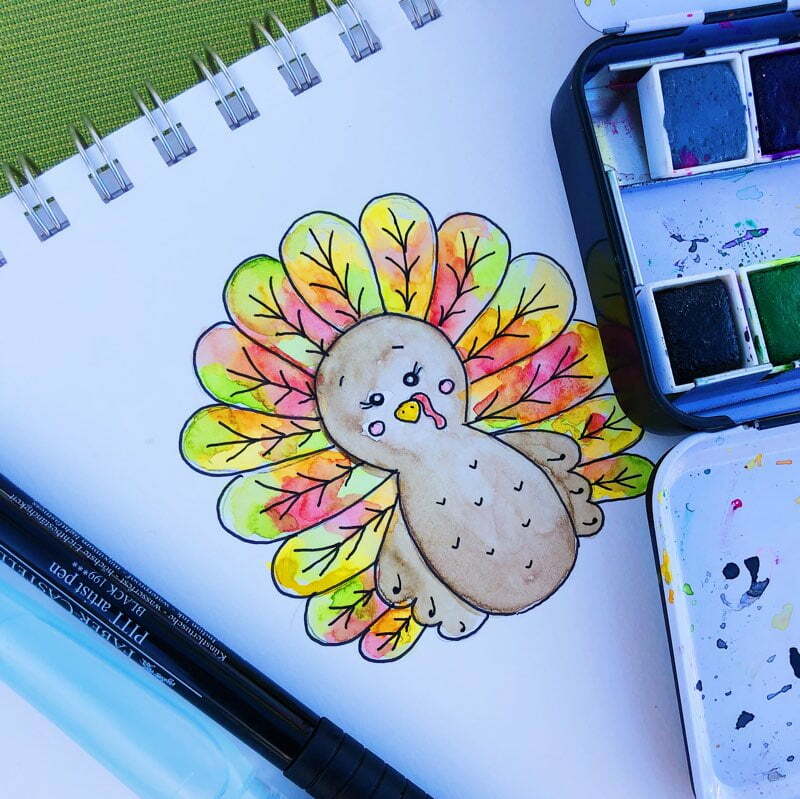
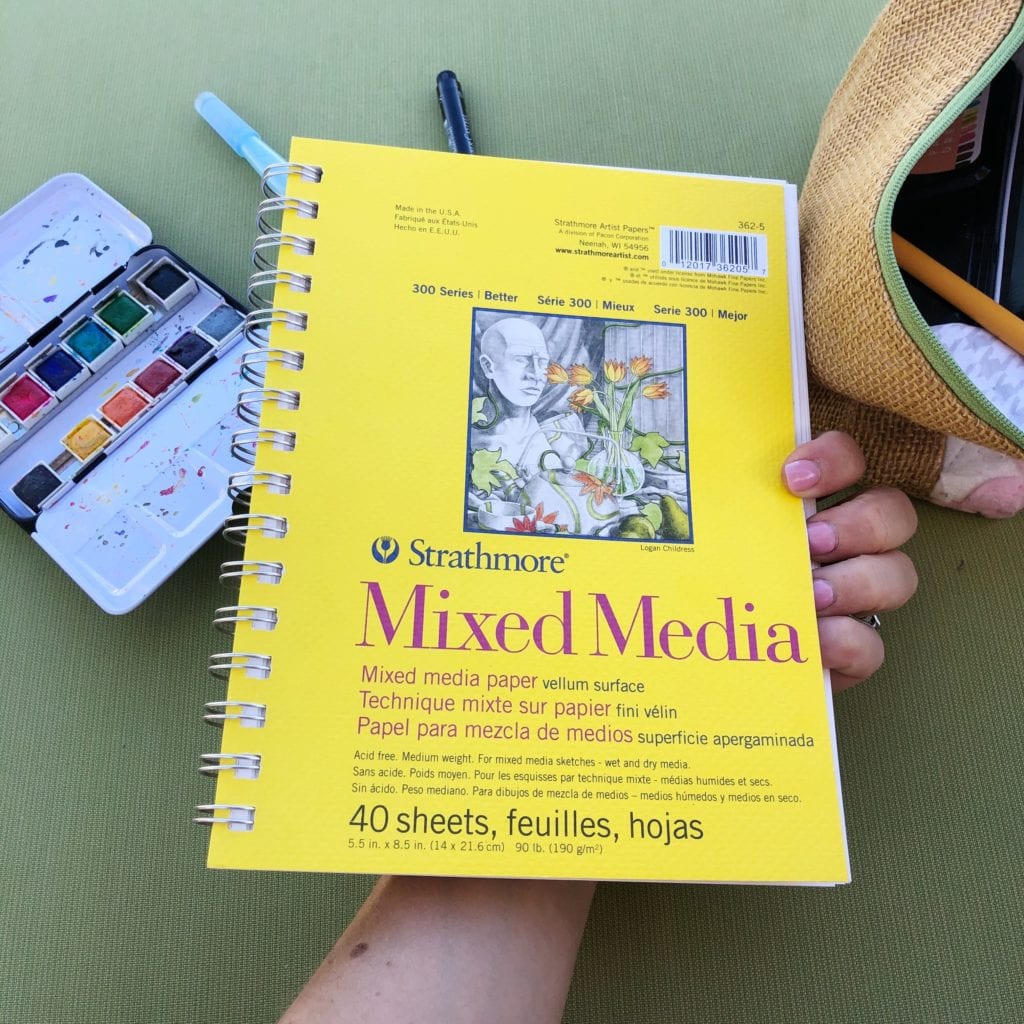
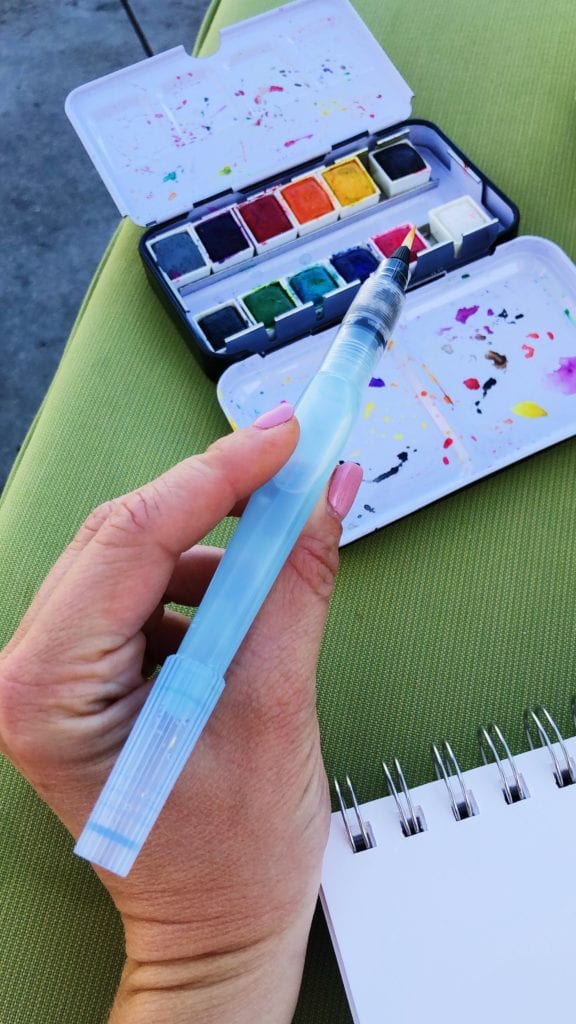
These are the exact products I used. I actually did this entire doodle and painting sitting poolside.
Watercolor paper
I used this mixed media sketchbook since I was on vacation and sitting by the pool. The paper is great not only for markers but for watercolors as well.
Watercolors
Watercolors – this is my favorite set whether I’m at home or traveling.
Water Brush
Water brush – this is perfect for on the go. You just put the water directly in the brush… no water cups required!
Outline Pen
Hope you have found this how to draw a turkey tutorial helpful! For more craft ideas and drawing tutorials make sure you’re following along with me on Instagram.