How to Paint a Mandala Wooden Stool
As an Amazon Associate, I earn from qualifying purchases. This post may contain affiliate links. See our full disclosure here.
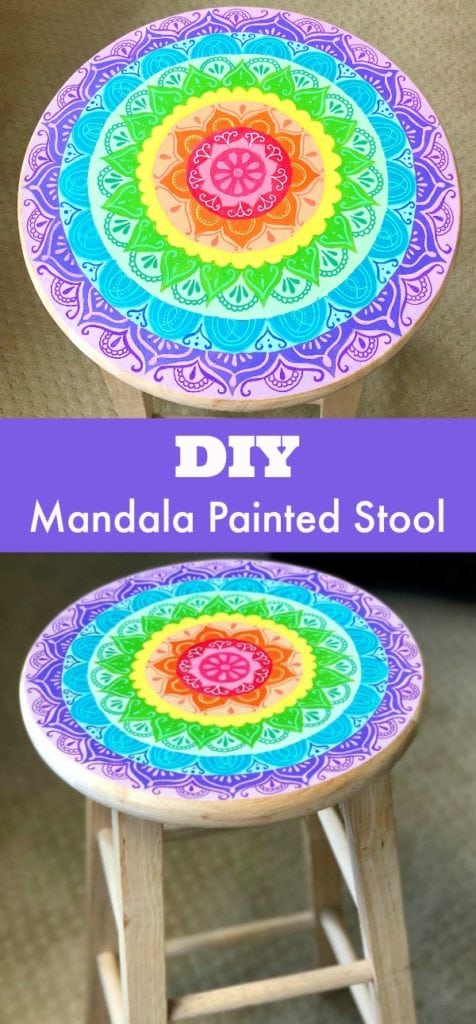
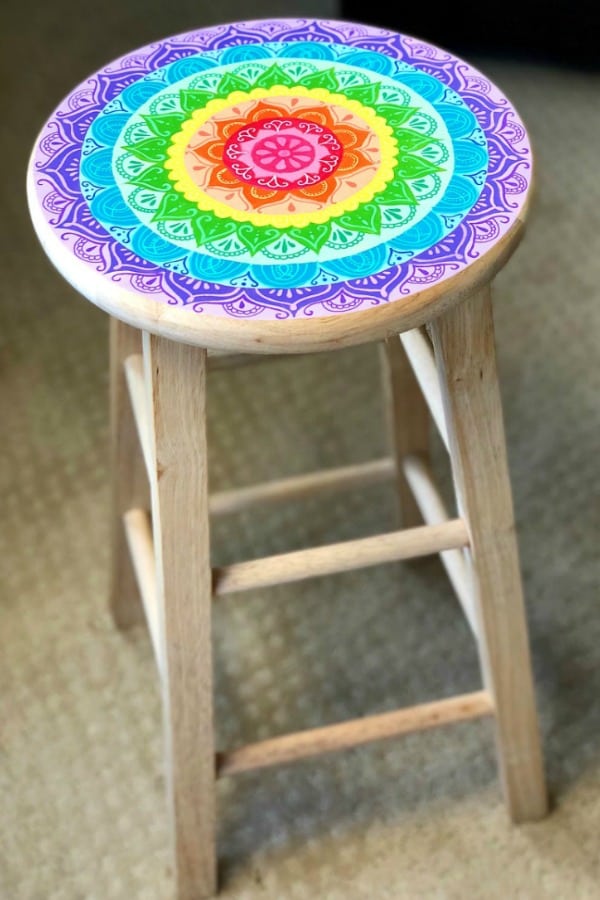
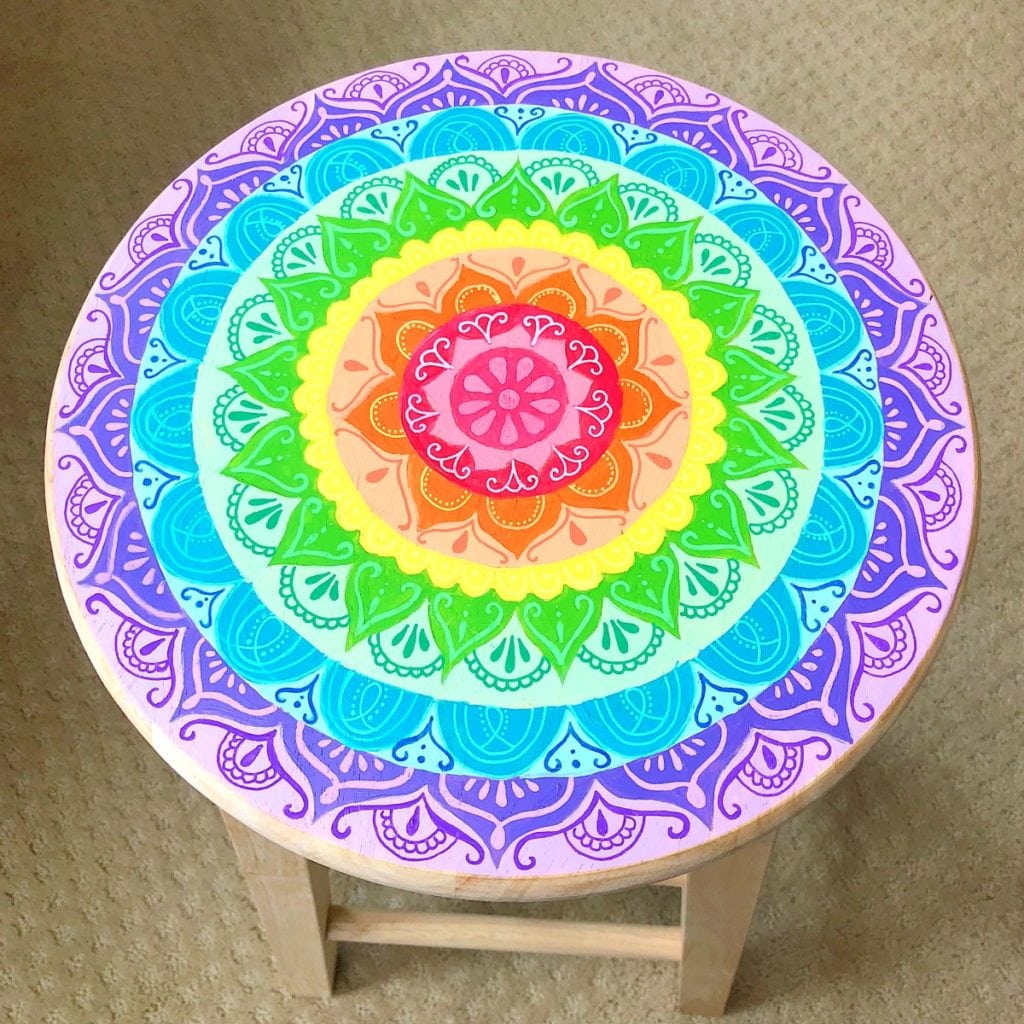 I needed some new seating for my craft room so I decided to paint my own stools. I still have another wooden stool to paint, but for my first design, I decided to paint a mandala design. A round wooden stool is actually the perfect surface for a painted mandala design. If you want to learn how to paint a mandala wooden stool, just follow the easy steps below. While the finished painted mandala design may look complicated, when you see the step-by-step mandala process, you’ll find that it’s easier than it looks.
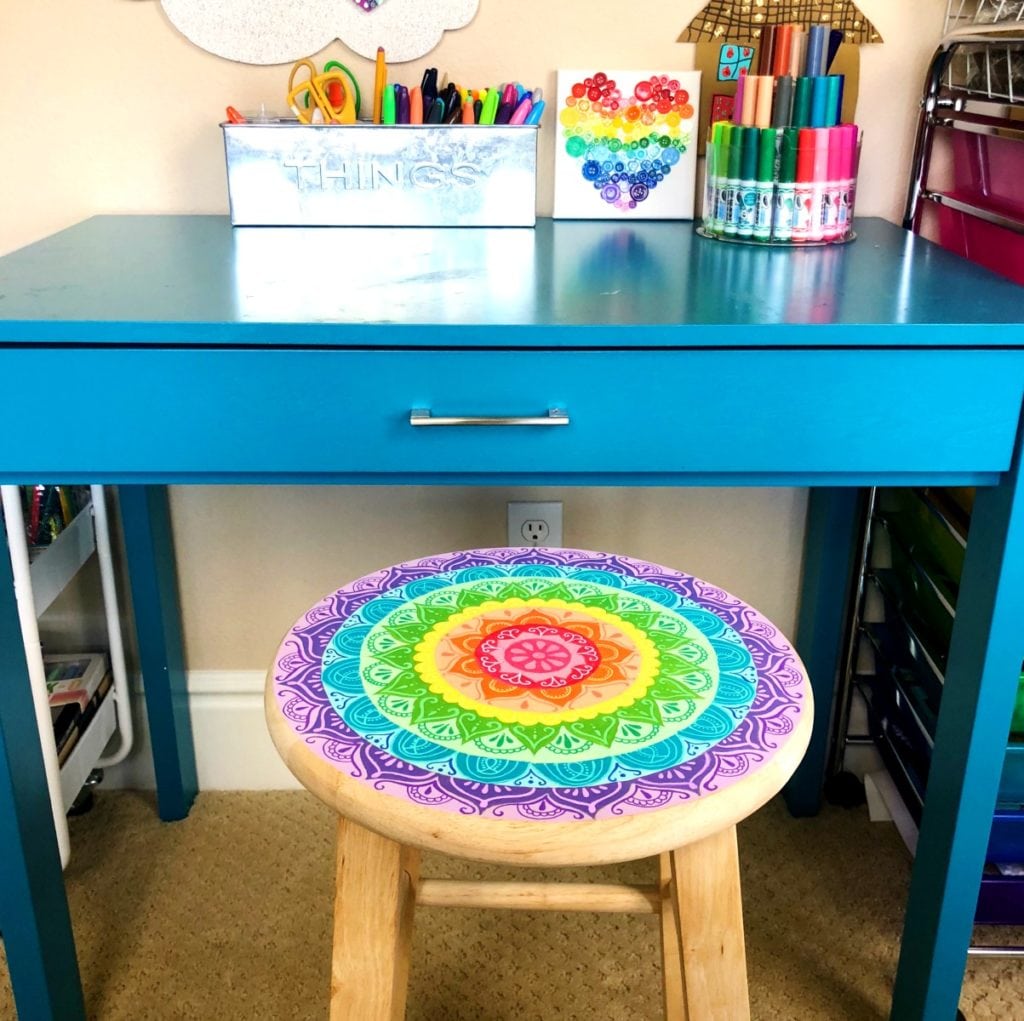
RELATED: Mandala Painted Shells, Mandala Watercolor Background
Supplies for Painted Mandala Stool (affiliate links provided for convenience)
- Unfinished Wooden Stool
- Acrylic Paint – I like this Folkart Multi-Surface acrylic paint in the bright colors as well as this set.
- Paint Brushes – I like to have a variety of paint brush sizes to choose from.
- Drawing Geometry Compass
- Paint Markers – If you don’t have paint markers yet, I highly recommend these Posca extra fine point markers. I use them all the time on rocks, wood and more. I have the full Posca paint marker set but here’s a smaller starter set as another great option.
- Sealant
Directions for Painted Mandala Stool
Step 1: Find the center of the stool and draw 6 -9 circles using a geometry compass. To use the compass place the metal point in the middle of the stool and create one small circle to begin. Keeping the same starting point, widen the compass and create larger circles as you work your way to the out edge of the stool. 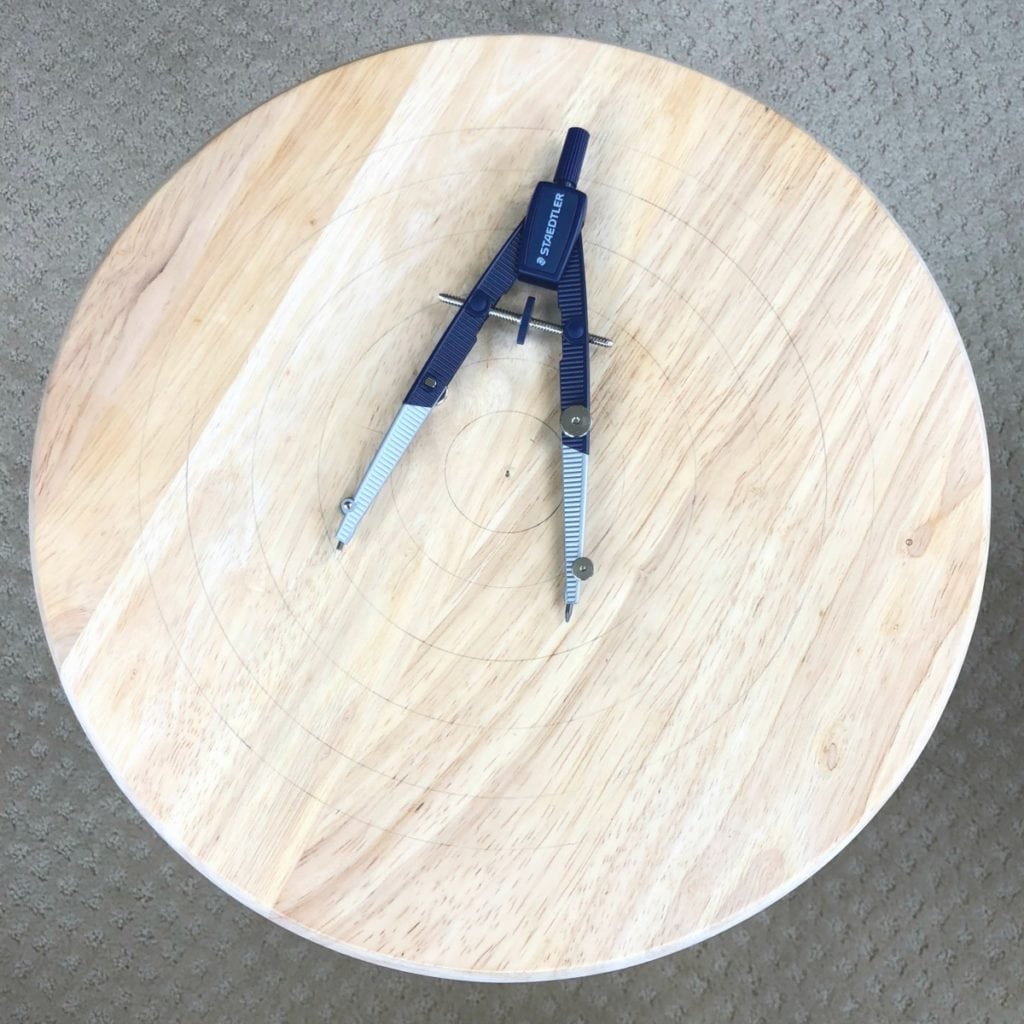 Step 2: Lightly draw a mandala design using a pencil. I typically draw a repeating pattern around each circle. You don’t need to make the design too complicated as you will add details later.
Step 3: Paint each section of the mandala using acrylic paint. See the supply list above for the acrylic paint I used. I worked with a rainbow palette using variations of light and dark colors. Choose whatever color palette you like best. TIP: Paint a stripe of each color on a separate piece of paper to make sure you like how all the colors look together. 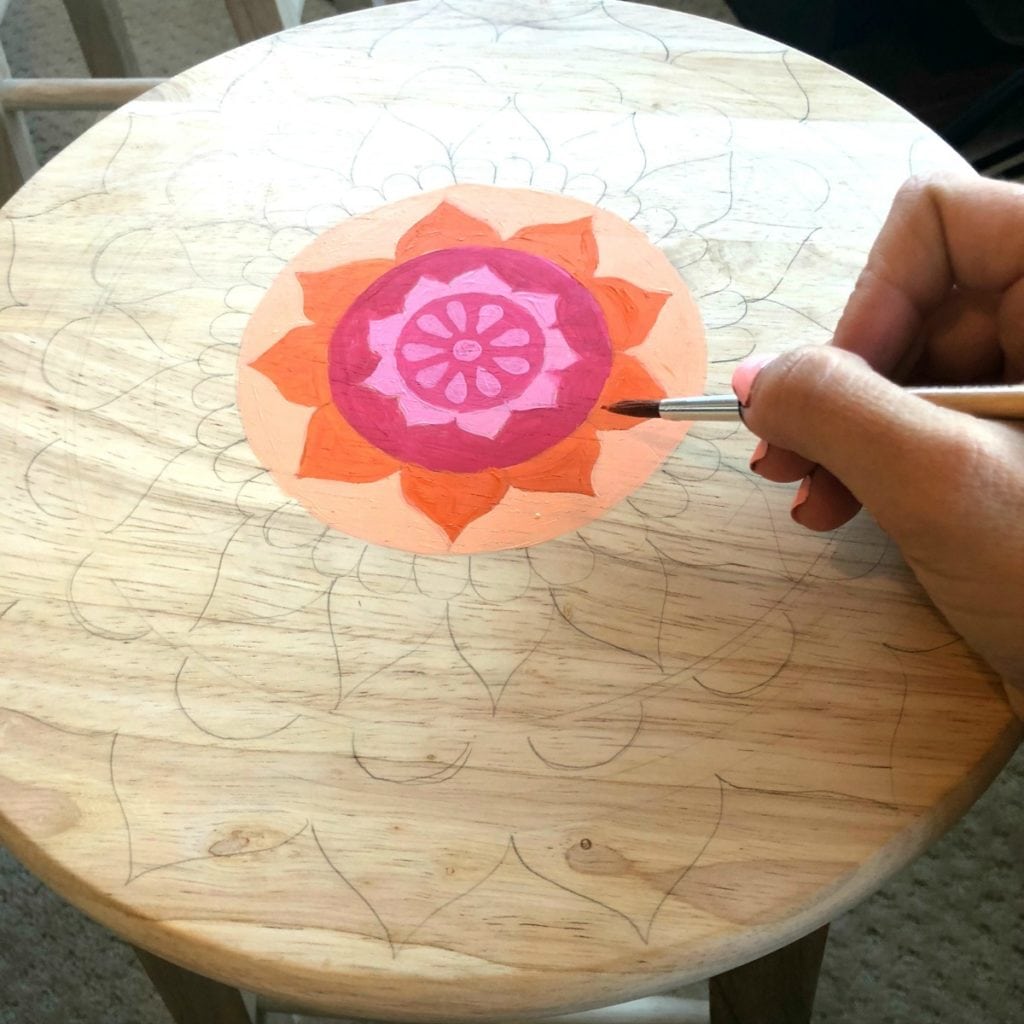
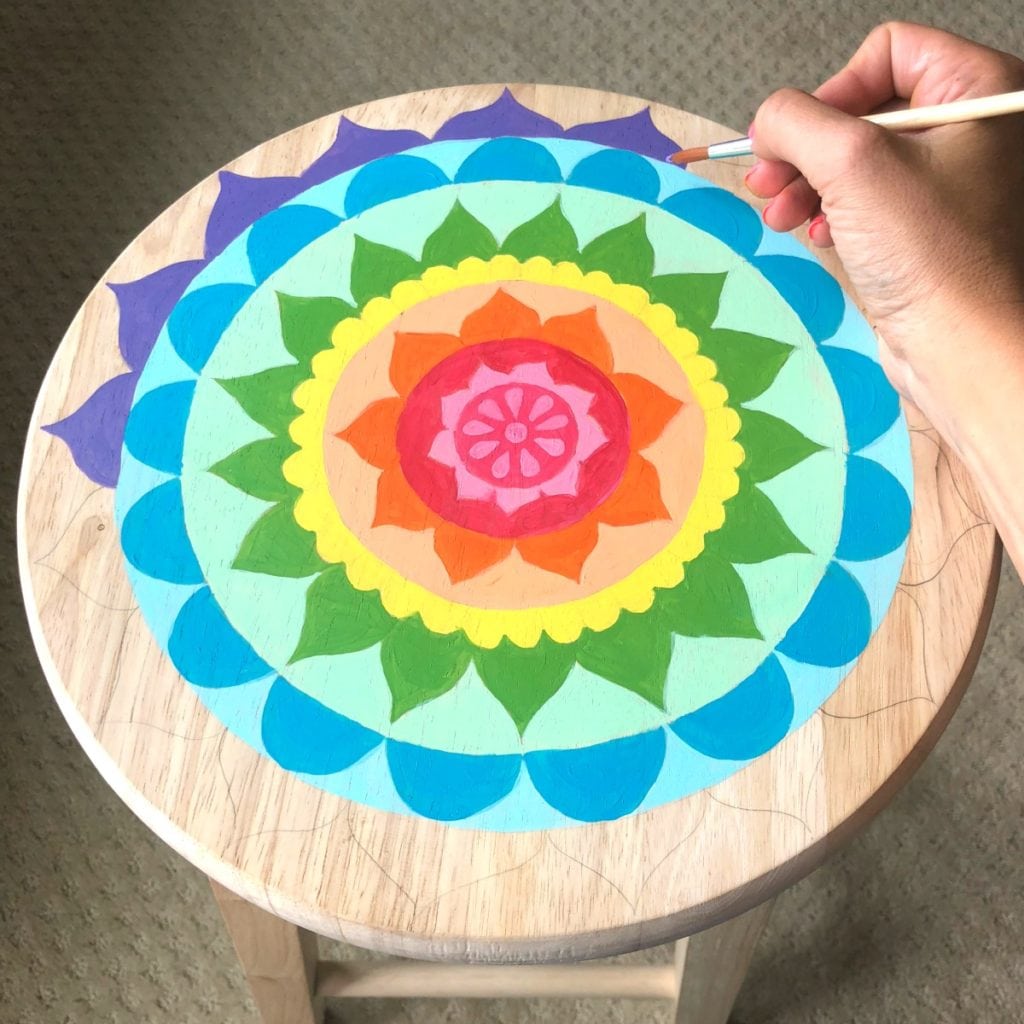
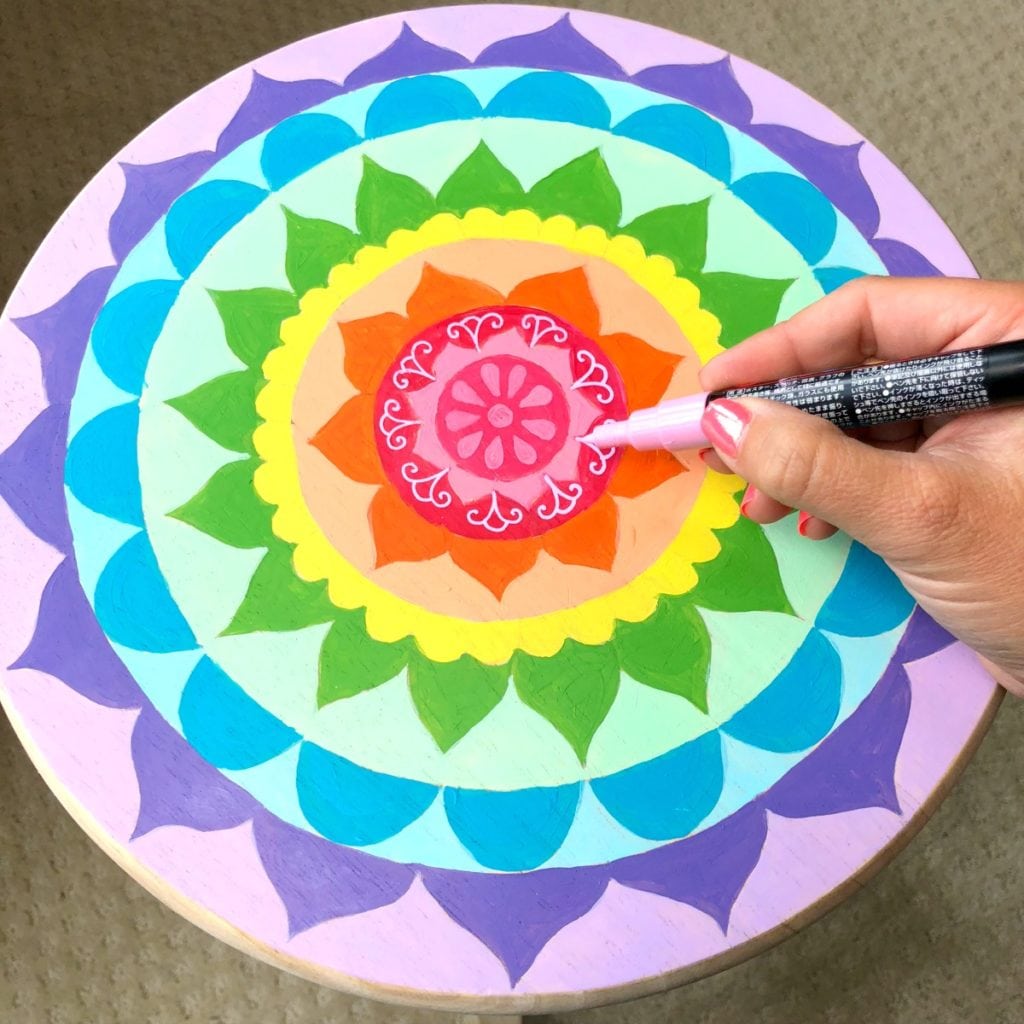
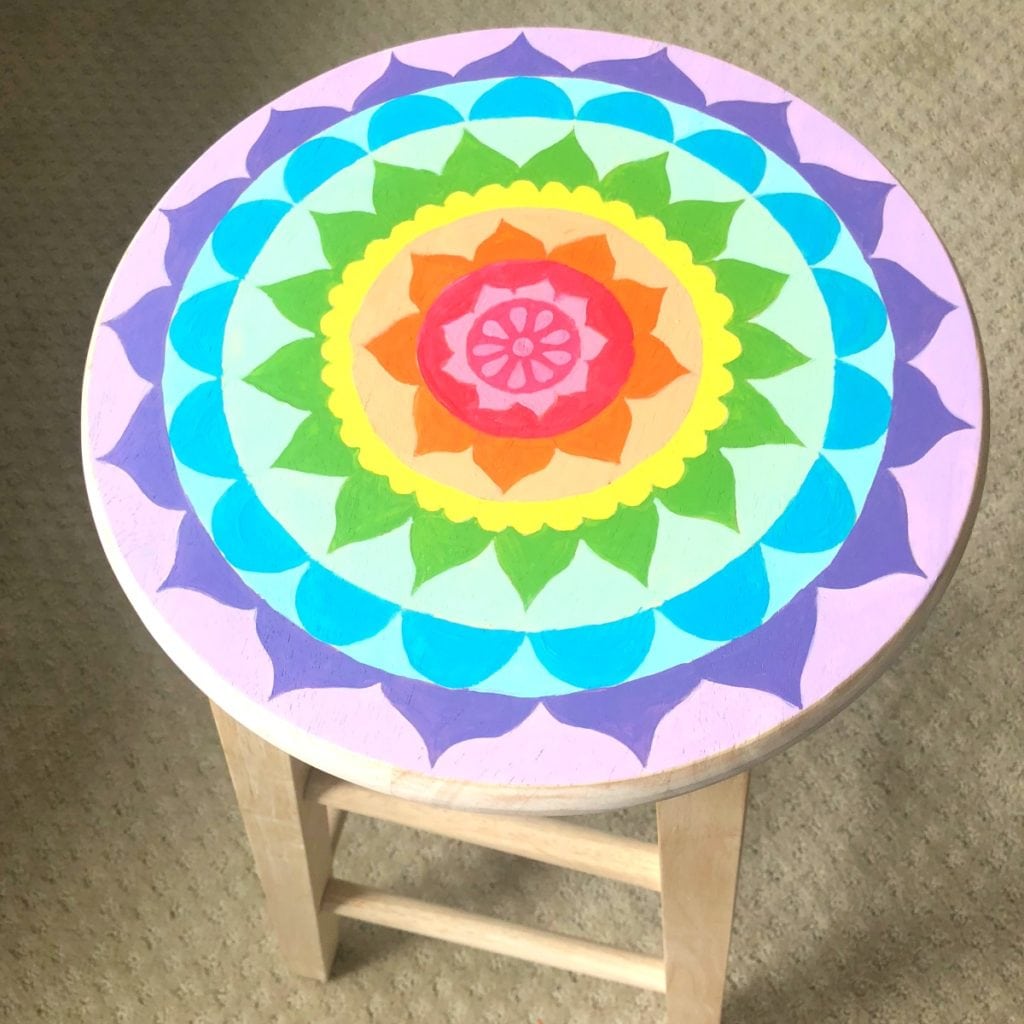 Step 4: Add details to the mandala design using paint markers.
 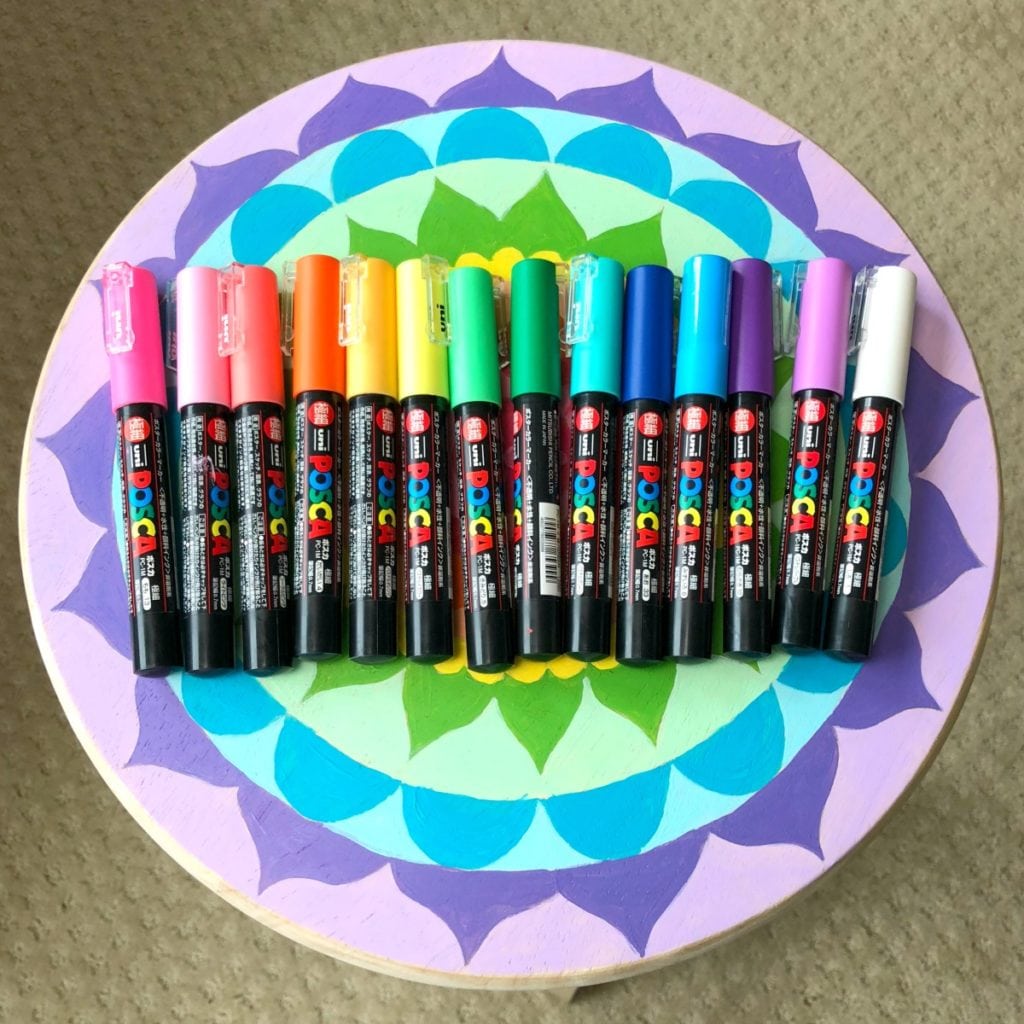 Step 5: If you’re unsure of what types of details to add, look at a variety of mandala designs. You can pull details from different images for inspiration.
 Step 6: Once your mandala stool design is finished and dry you can seal your finished stool. I like this Miniwax Polycrylic sealant in clear satin. Apply three coats of the sealant using a foam brush.
 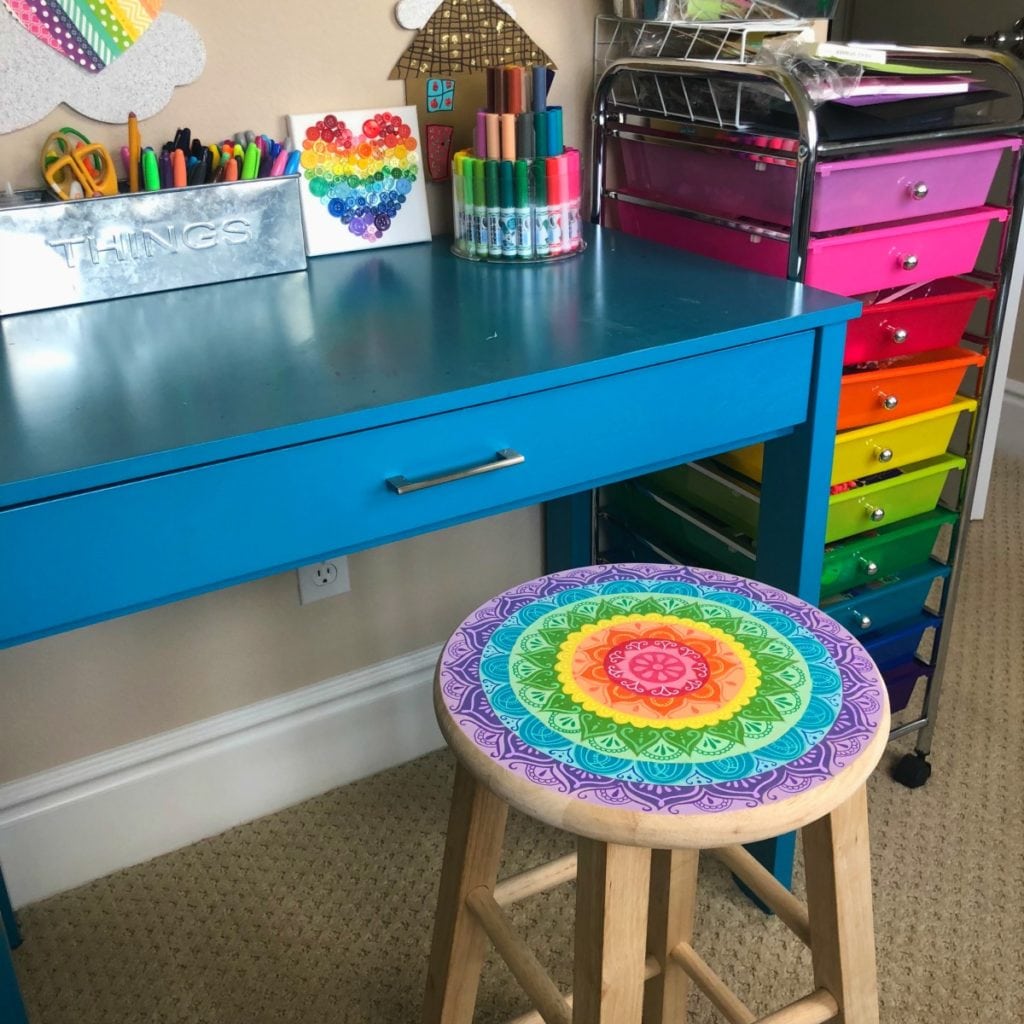 For more crafty and colorful projects visit my Instagram page or Facebook page. And if you make your own mandala stool, come share your finished pictures. I love featuring projects that were inspired by my tutorials with my followers.



Thank you for these easy steps ?
I always wondered how to add details!
When i used to draw mandala i add details while drawing and it is very difficult to do so!
Thank you again
So glad you found it helpful!