Rock Painting – Four Creative Ideas & Supplies
As an Amazon Associate, I earn from qualifying purchases. This post may contain affiliate links. See our full disclosure here.
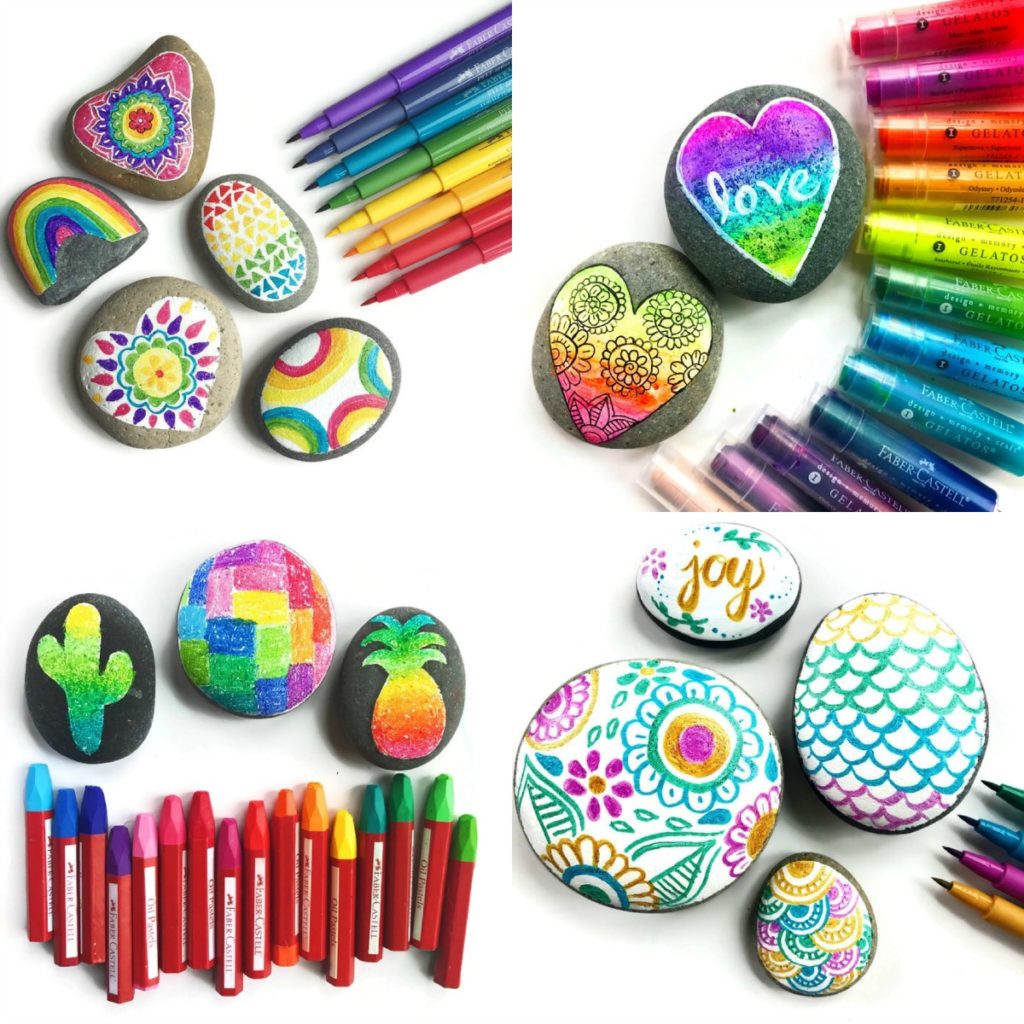
I love rock painting and doodling on rocks! I’m actually obsessed with it. If you follow me on Instagram you’ll see that I post pictures of my obsession quite often. When Faber-Castell USA asked if I wanted to try out some of their art supplies to see if they worked on rocks, I jumped at the chance. While this post is sponsored by Faber-Castell USA, all opinions and ideas are completely my own. And I have to say, I’m really excited to have found some new ways to decorate and paint rocks. Affiliate links are included throughout the post for your convenience.
PREPARING YOUR ROCKS FOR ROCK PAINTING
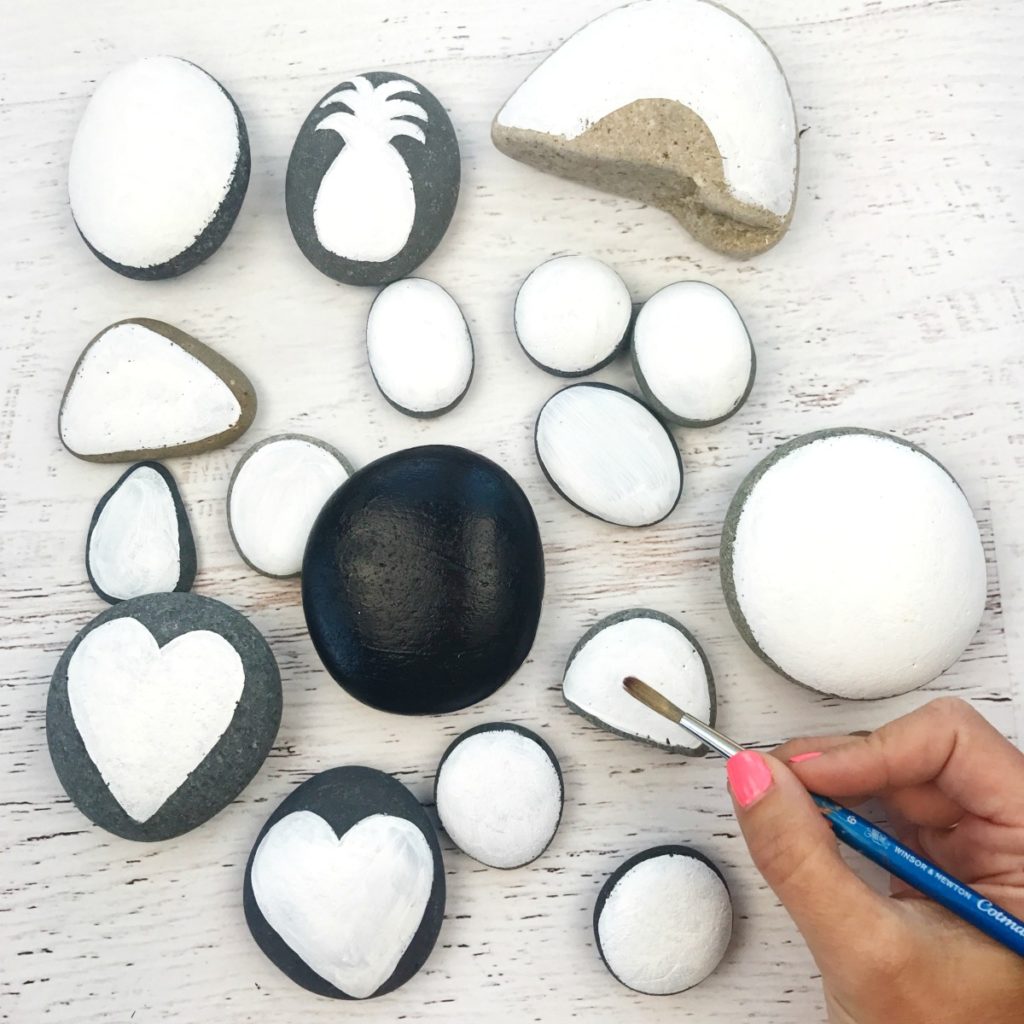
There’s not much you have to do to prep your rocks. I simply hose off mine and let them dry. If you are having trouble finding smooth stones, check your local garden center for river rocks, but don’t get the kind with a glossy finish. For all of the rock painting and decorating techniques listed below, I started with an acrylic painted base.
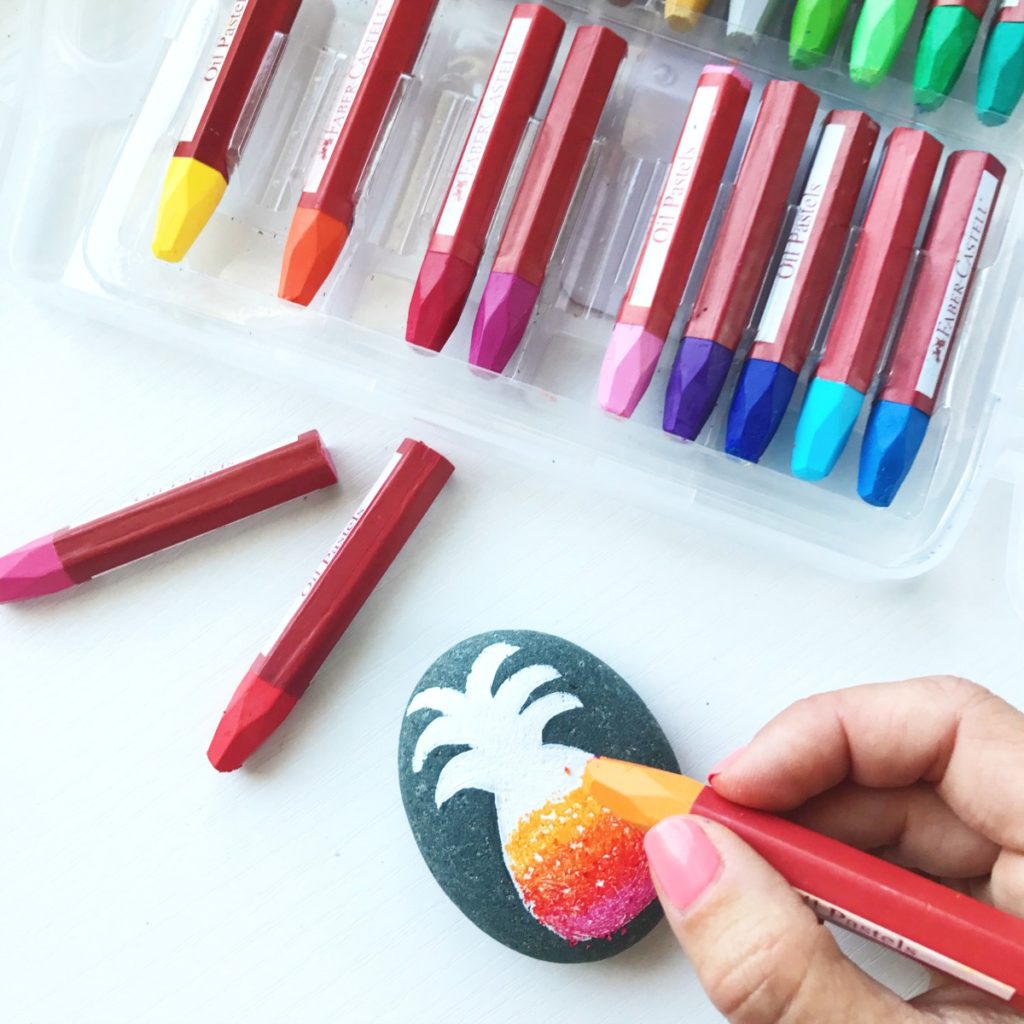
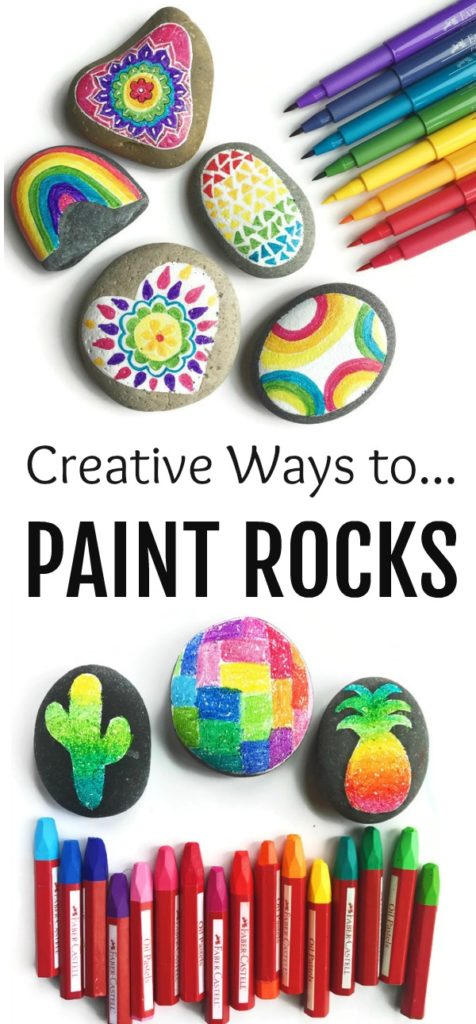
OIL PASTEL ROCKS
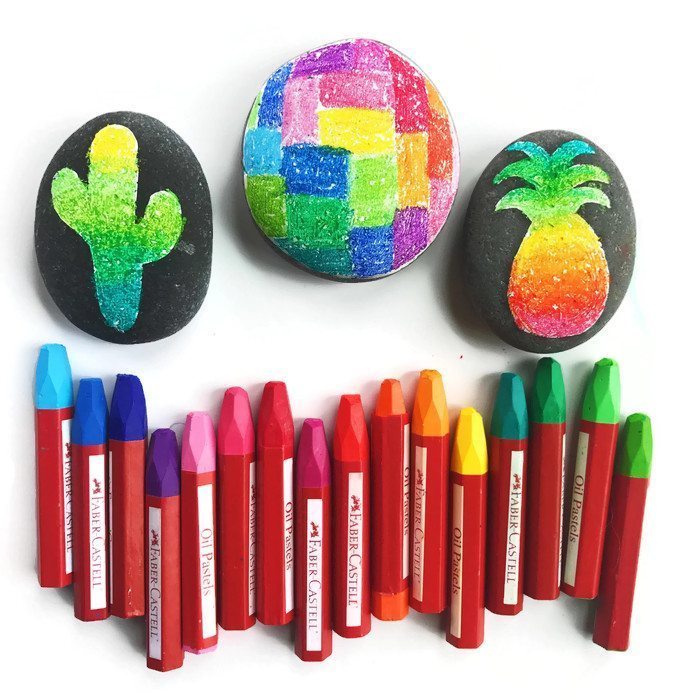
If you love bright, beautiful colors, these rocks using Faber-Castell Oil Pastels are for you!
Supplies:
- Faber-Castell Oil Pastels – The pack of 24 has such a great mix of colors, and I love that the colors come in various tones as well. Perfect for creating an ombré effect.
- White acrylic paint
- Paint Brush
- Sealant – I always use this matte sealant on rocks because it still keeps the natural matte look of the rock.
Directions:
1. Start by painting your rock with white acrylic paint. You’ll want to add at least two layers of paint. Cover the entire rock or create a simple design.
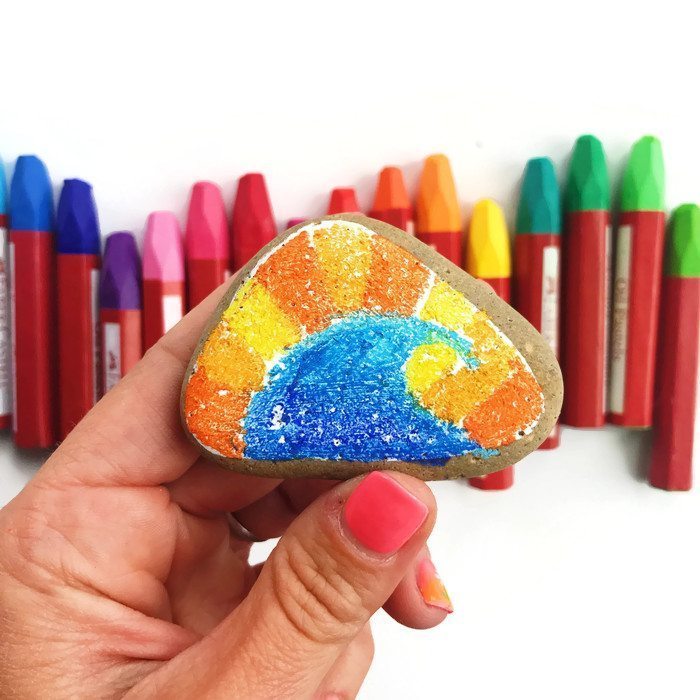
2. Using your Faber-Castell oil pastels, start to color in the area you covered in white paint. For an ombré effect, begin with your lightest color and move towards the darkest.
3. To create a smoother look, add several layers of oil pastel. I only added two layers because I liked that the colors weren’t completely smooth. It gives the designs depth and texture.
4. Once your design is complete you’ll need to seal the rock to keep the oil pastels from smearing and rubbing off. Using this matte sealant, I covered the rock with two layers, letting the first layer dry before adding a second. For most rocks you only need one layer of sealant but, due to the wet nature of oil pastels, more than one layer is required.
WATERCOLOR INSPIRED ROCKS
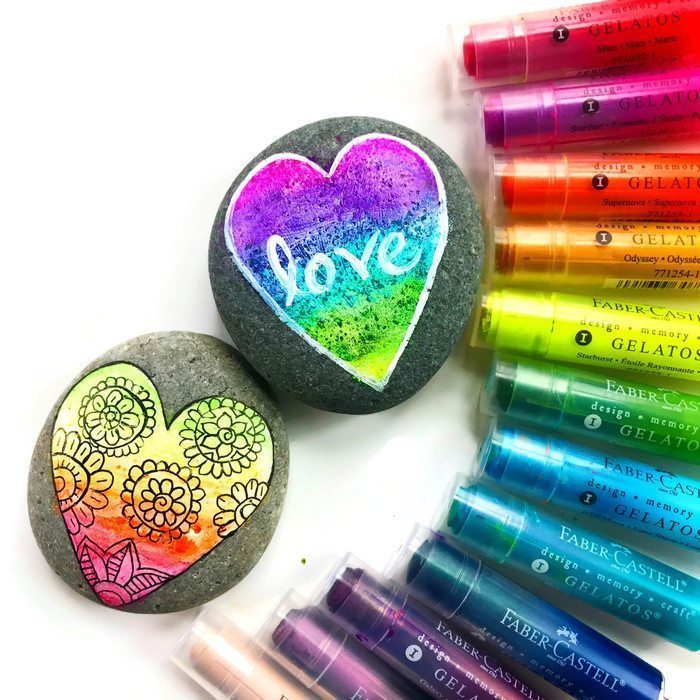
These rocks that were covered using Faber-Castell Design Memory Craft Gelatos Colors Iridescents have a beautiful and soft watercolor-like feel, perfect for creating a beautiful base for doodles or words.
Supplies:
- Faber-Castell Design Memory Craft Gelatos Colors Iridescents – These are acid-free pigment sticks that glide on creamy vibrant color.
- White acrylic paint
- Paint brush
- Faber-Castell Pitt Artist Pen in black Superfine nib (optional)
- Sealant
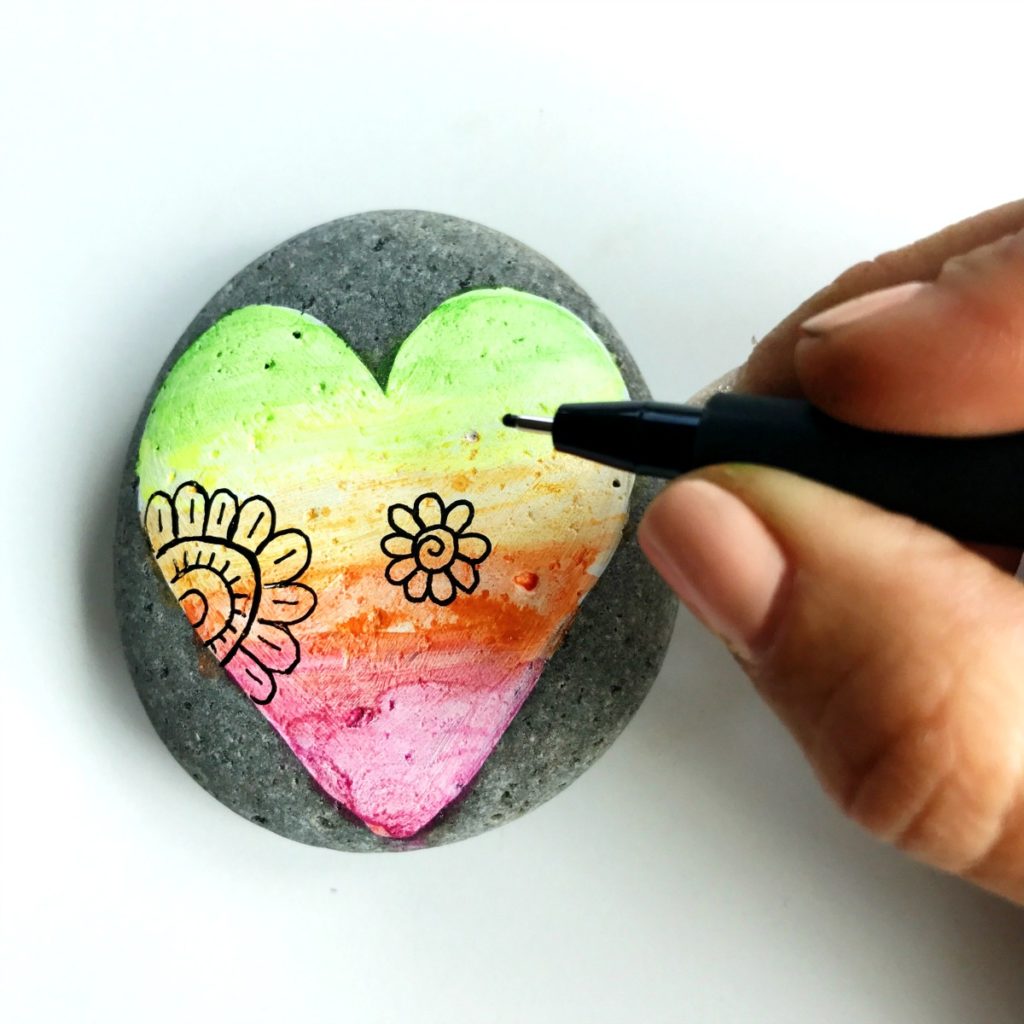
Directions:
1. Start by painting your rock with white acrylic paint. You’ll want to add at least two layers of paint. Cover the entire rock or create a simple design.
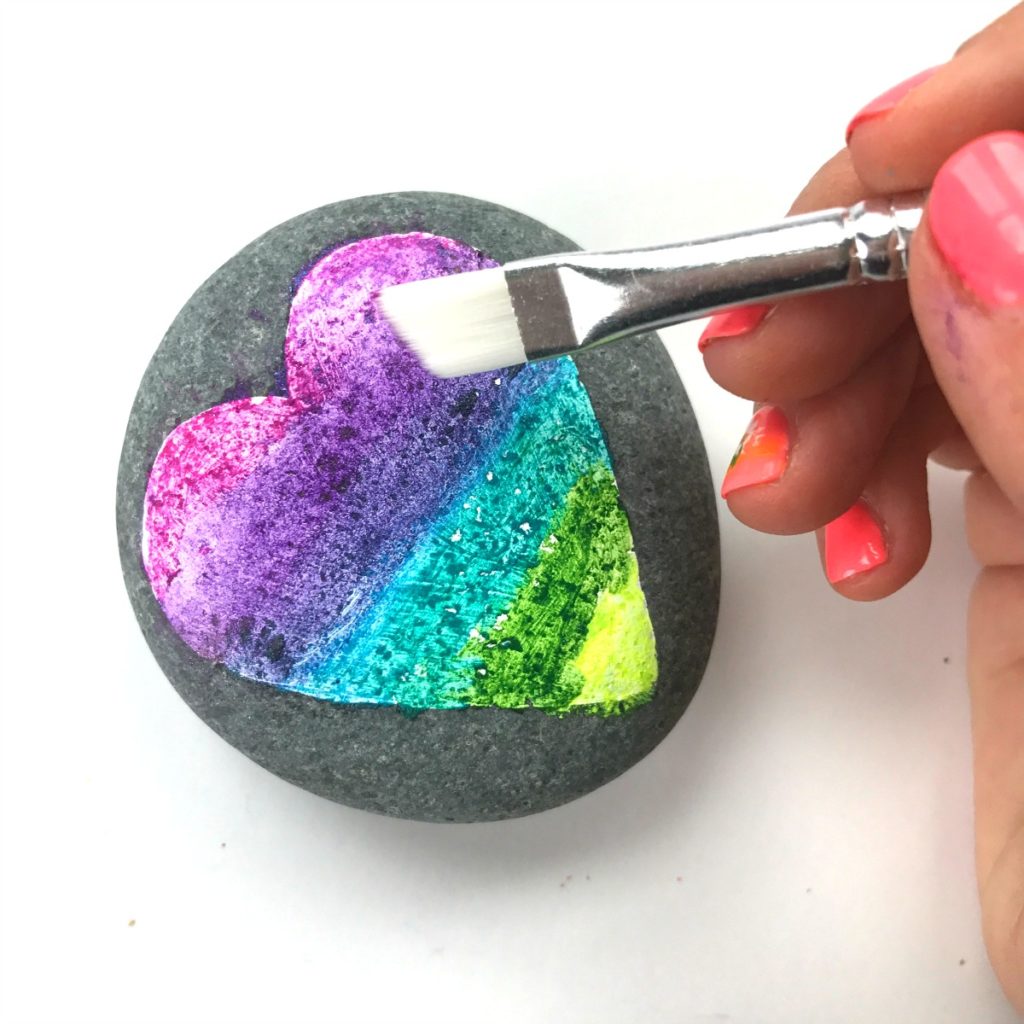
2. Color in the white acrylic paint area on your rocks using the Faber-Castell Gelatos sticks.
3. To create a watercolor effect, dip a paintbrush in water, and lightly brush over the area you just covered with the Gelatos. Or for an even smoother look, apply your Gelatos to a separate piece of paper, dip you brush in water, pick up the Gelatos pigment from the paper and apply directly to you rock.
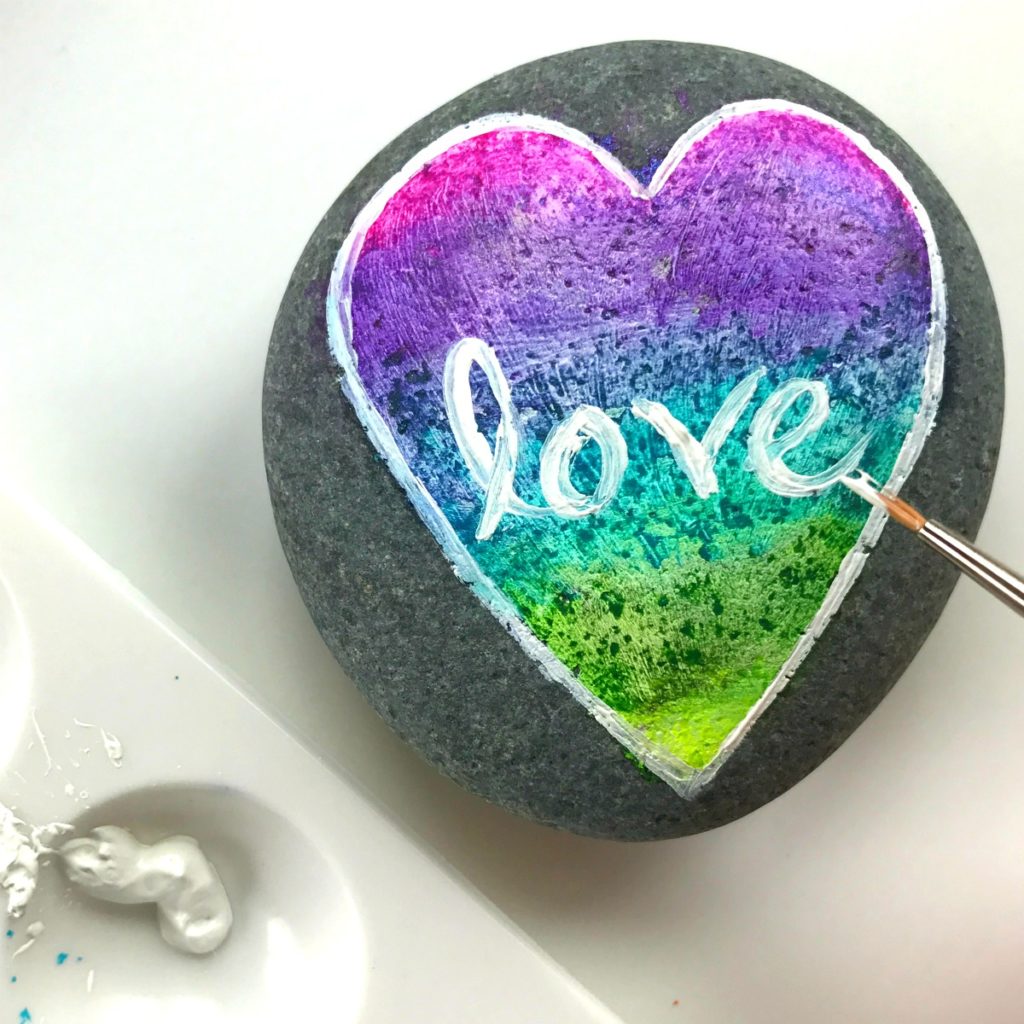
4. Once dry, apply doodles or words using a black Faber-Castell Pitt Artist pen or acrylic paint.
5. Seal your designs with a single coat of spray sealant.
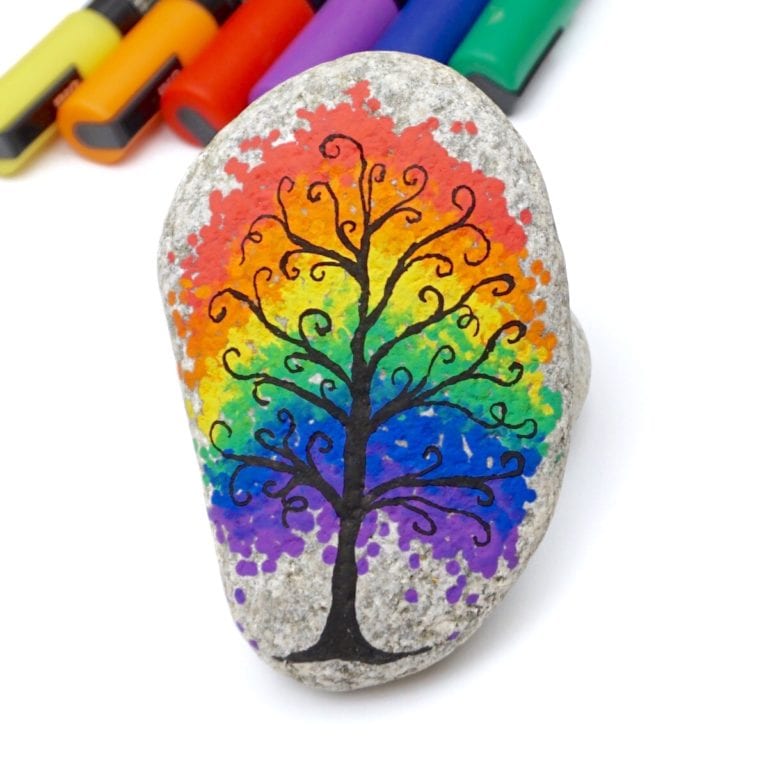
DOODLE ROCKS
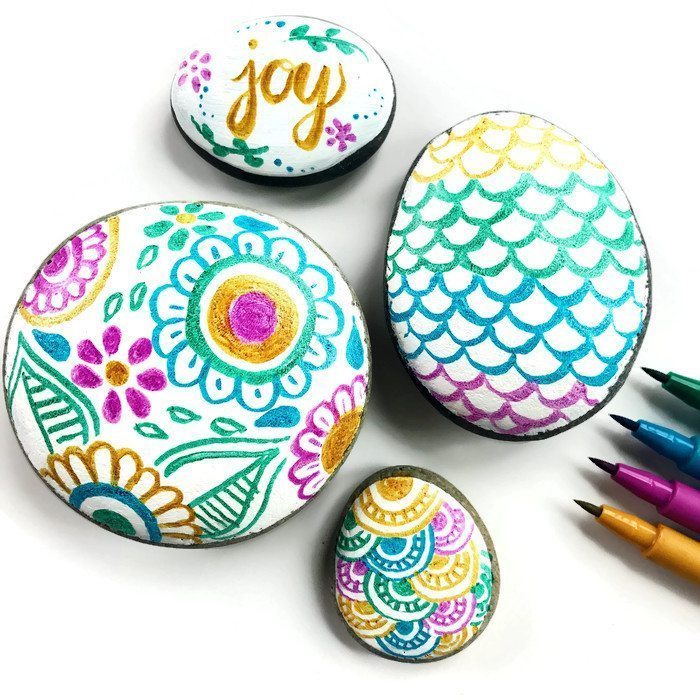
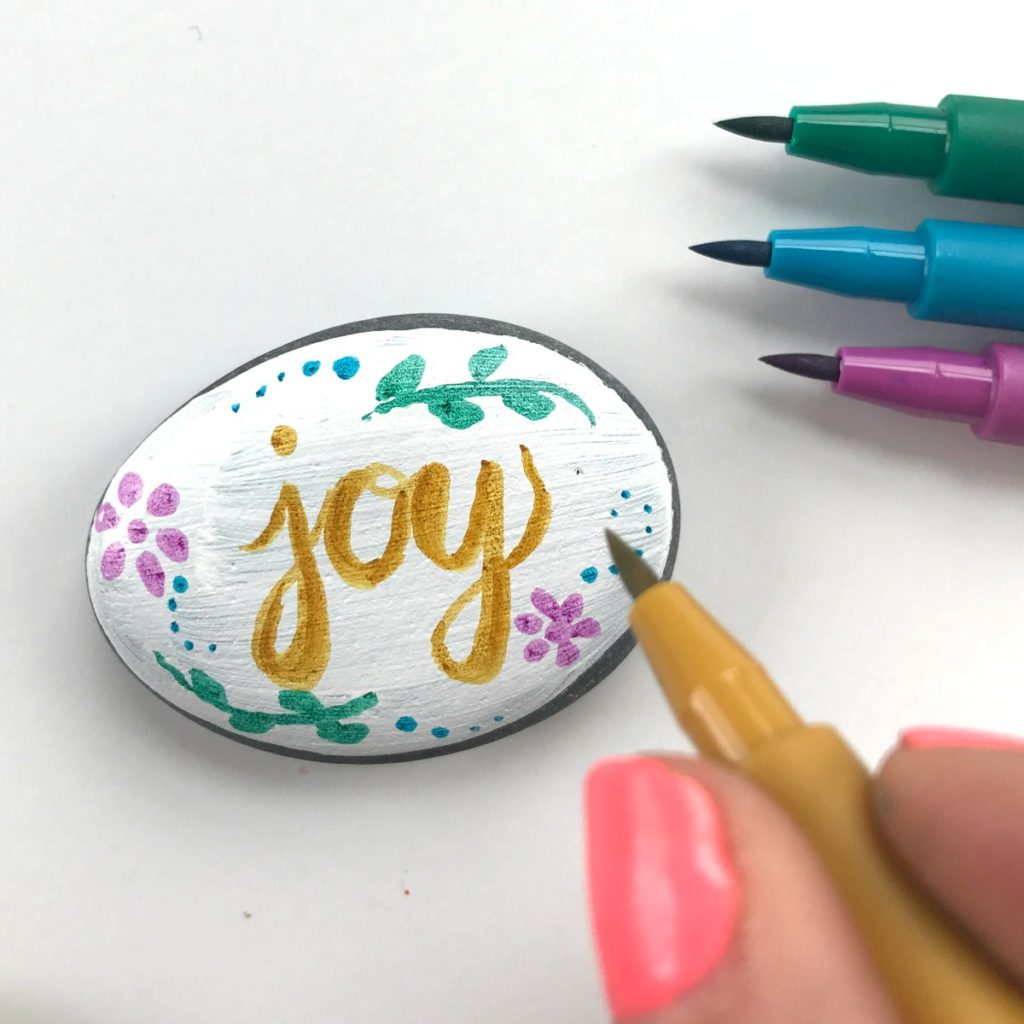
If you want a simple yet beautiful way to decorate rocks, this technique is for you.
Supplies:
- Faber-Castell Pitt Artist Pens – I used the Faber-Castell Memory Craft Jewel Tones Lettering Set as well as the rainbow colors from this set of 12
- White acrylic paint
- Paint Brush
- Sealant
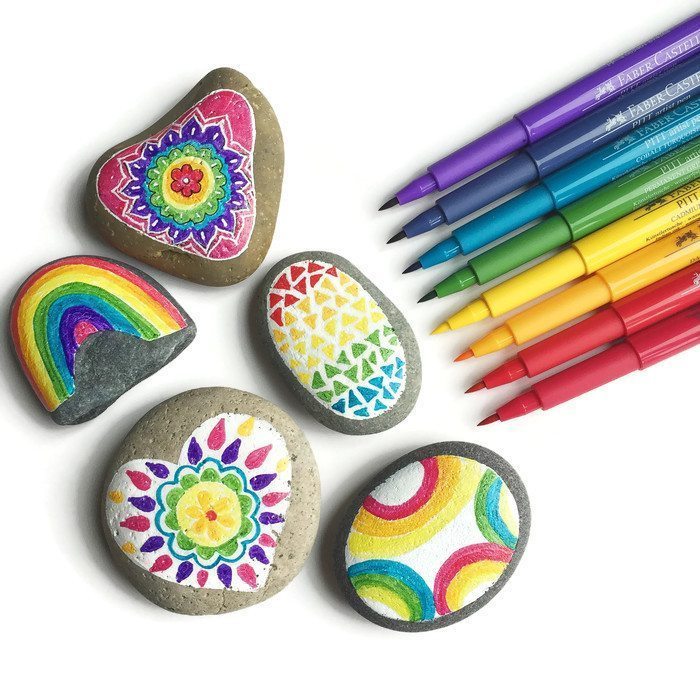
Directions:
1. Cover the entire rock with at least two layers of white acrylic paint.
2. Create your doodles using the Faber-Castell Pitt Artist Pens. I loved both the vibrant colors of the basic pack, and the soft beautiful tones of the jewel pack.
3. Spray your finished designs with a single layer of sealant.
TEXTURE ROCKS
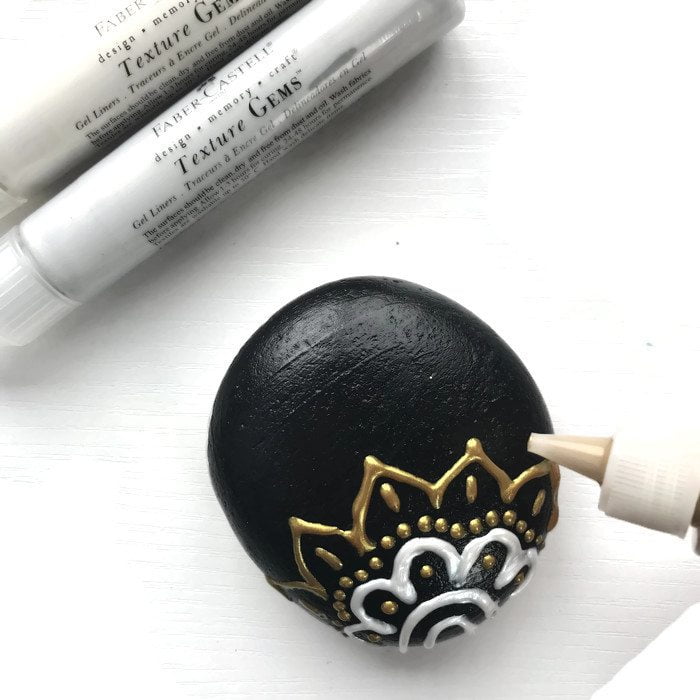
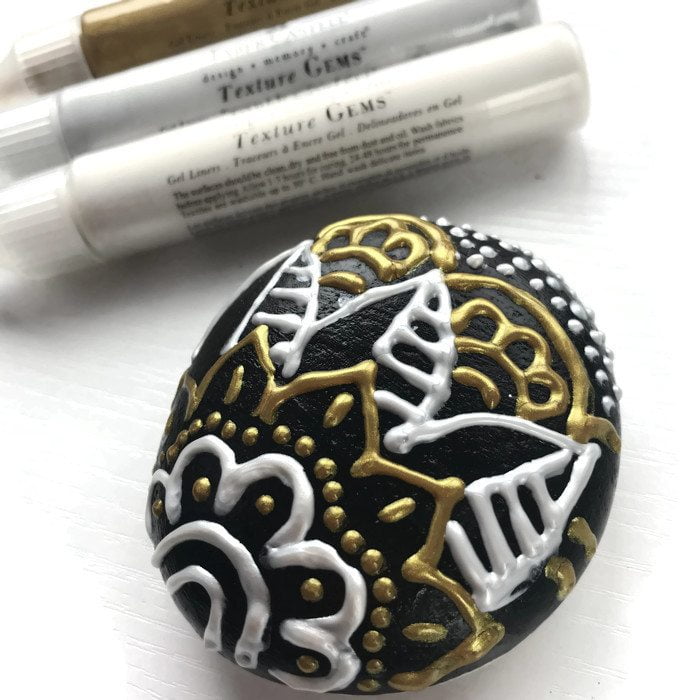
It’s easy to add metallic dimension texture to any of the painted rock design techniques listed above using Faber-Castell Design Memory Craft Texture Gems. I couldn’t believe how beautifully these gel liners worked on rocks. And it was so fun to have an art supply that added dimension to what is typically a flat surface. I added my texture gems to a rock I simply covered with black acrylic paint, but you could add Texture Gems to virtually any design.
Have you decided which rock painting idea you want to try first? I’d love to see what you create. If you’re on Instagram be sure to tag your rock painting creations with @colormadehappy and @fabercastellusa.

That is for all these wonderful tips. I will try these different media techniques.
So glad you liked the ideas and found some inspiration.
What kind of sealant for oils??
For the oil pastels I use the spray sealant I link to and mention in the post. It’s the same one I use for all my rock crafts 🙂
These are pretty. I did see a facebook photo of yours re: fairy tales. A suggestion: you might want to add people of color to those characters.
Hi Mary! Such a great suggestion. I’ve actually painted lots of rocks over the years filled with all different types of people, backgrounds and races.
Am I the only one that thinks the gel pens take forever to dry on rocks?? Am I doing something wrong?
Lisa…are you drawing right into the rocks? Do they have a waxy coating? The pens will definitely smear until you seal them. I seal them a few hours after I draw on them.
These are just beautiful! You’ve inspired us! The kids and I have been painting rocks today with a few of these techniques. We even found a local rock hunting group to participate in!
Yay! I can’t wait to see what you all created and how fabulous that you found a local group.
Very glad I found your site…have the rocks…ideas..just needed types of colors to use…great suggestions!!!
Yay! So glad you’ve found it helpful :).
Thanks I have a web page with a group of artist I feel will love this .
Hope it helps with some inspiration :).
Where do you buy the pens? And how expensive are they?
Hi! All of the links are included in the post. I found everything on Amazon!
These are AWESOME…what type of sealant do you use?
Hi Lisa…I actually put the link to the sealant I use in the post. It’s by Design Masters :). You may have just missed it. It’s in each section.
The sealant is actually listed in the post. It’s a spray sealant and I love it!
Instead of starting with white acrylic paint, can you use clear?
You could try! I haven’t tried it before but if it sets a good base it might work. The oil pastels actually work without any base but they won’t be as bright.
Beautiful idea’s. I will try some of them thanks
Glad you like the ideas. Happy crafting!
Awesome post, your designs are adorable. Thanks for the info, quick question,
Why not glossy rocks?
I just bought some polished rocks today :/
The white acrylic paint seems to adhere ok. Also I bought a brush on sealant – are my designs likely to be ruined if I use it?
Thanks in advance
Tammy
Hi Tammy…I’ve never had luck with glossy rocks. Usually it’s been hard for me to get the paint to show up without being streaky. Also they aren’t great for paint markers. But if they are working for you than go with it!!
I have been told in my rock group that if you boil glossy rocks everything works great after that. I bought a bag of them at Dollar Tree to try. Wish me luck.
Good luck! You’ll have to let me know how it goes.
Love all the ideas and the rocks look amazing. I have been looking for crafts to do with my granddaughter and she LOVES ROCKS it doesn’t matter shinny or not she looks for rocks if there where she’s at at the time and, in Arizona there’s rocks everywhere. Thank you for all your tips.
Yay! Love that you like the ideas. My little boy loves rocks too. Whether you’re an adult or child this just something magical about rocks. They are nature’s best treasures.
Can’t wait to do this
Hope you have fun!
nice colourings.please how do I buy
all the colouring instruments..brushes.paints.sealants.etc.
All of the links to the supplies are in the post 🙂
Need some advice. I’ve seen on several rock painting posts that Sharpies and other permanent pens work on rocks. I have had no luck doing that. Don’t know why. Also, I have at least five WHITE Sharpie and other brand paint and permanent ink pens that are supposed to work on “any surface”. Mine all dry out almost immediately. Do you know of a white marker that stays “lubricated”?
Have you seen my post about doodling on rocks? https://colormadehappy.com/2016/03/tips-and-tools-for-drawing-on-rocks/ I have a few favorites. There’s a link to my favorite white gel pen in the post and I also really like my white posca paint marker also listed in the post.
Thank much for sharing. Your idea bring happiness to many families like us i bet.
a tip for the effect of a raised look or stained glass effect too..mix glue into acrylic paint and outline your art for stained glass and for the dimension you talked about with the one supply link on amazon..cheaper than 12.99! love the comments as learn a few tips like boiling rocks that are glossy!
Awesome tip!