Galaxy Painted Shells Using Alcohol Inks
As an Amazon Associate, I earn from qualifying purchases. This post may contain affiliate links. See our full disclosure here.
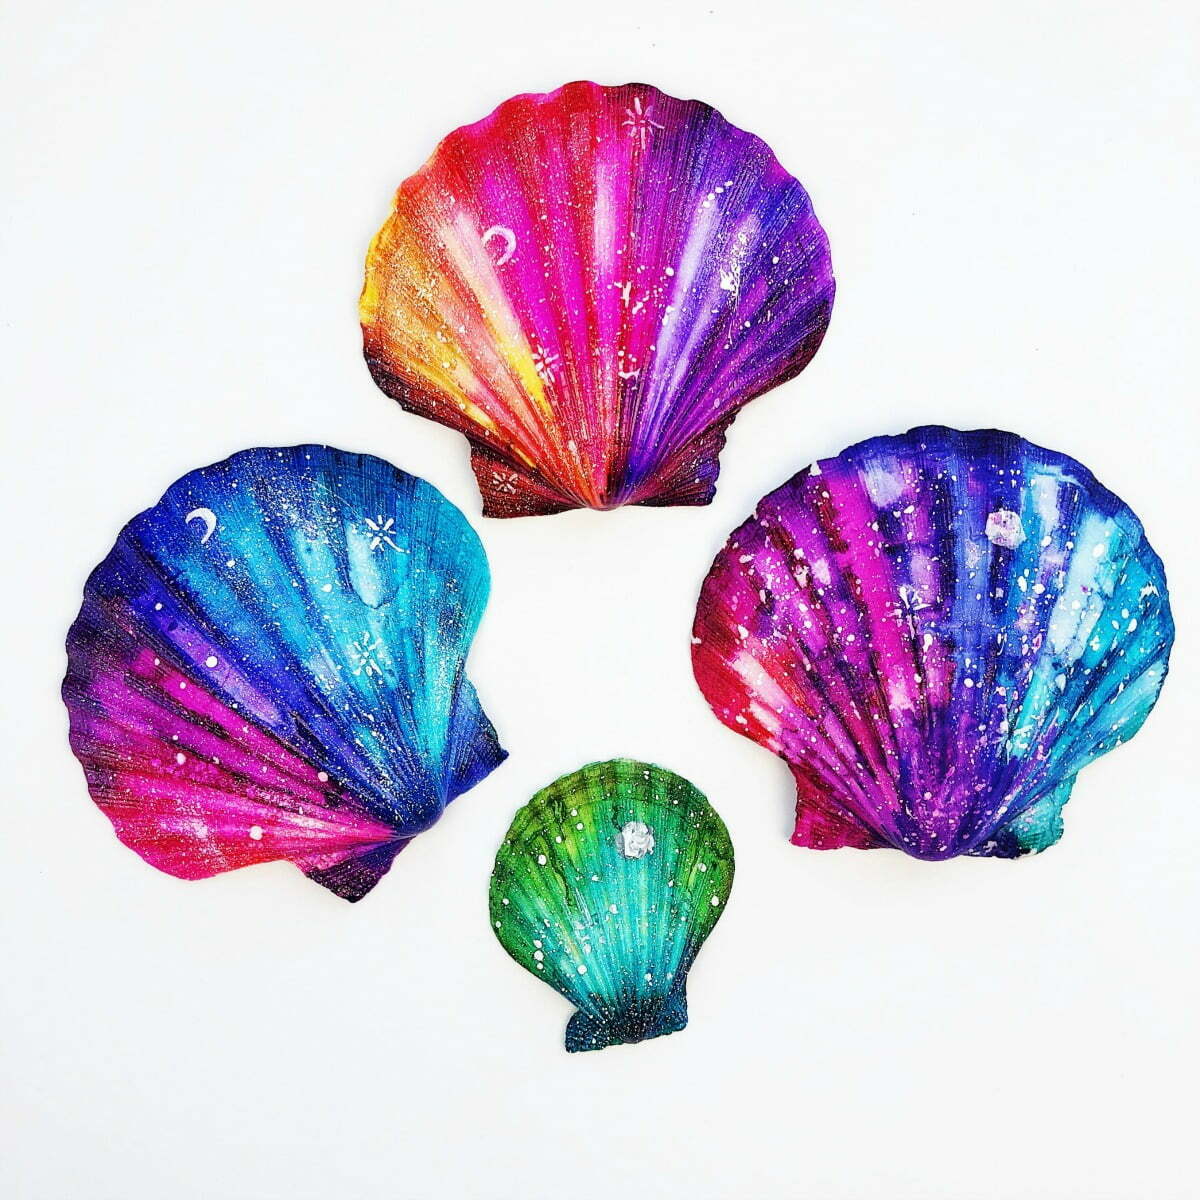 My galaxy inspired painted rocks have always been a huge hit so I thought it would be fun to take that same concept and try it out on sea shells. I had such a great time making these galaxy painted shells using alcohol inks. If you haven’t tried alcohol inks out yet this is a great beginner alcohol inks project. And if you’re an expert with alcohol inks, you already know how awesome they are and how perfect they would be for making galaxy painted shells!
Watch my galaxy painted shells video and then see the step-by-step directions and supply list below:
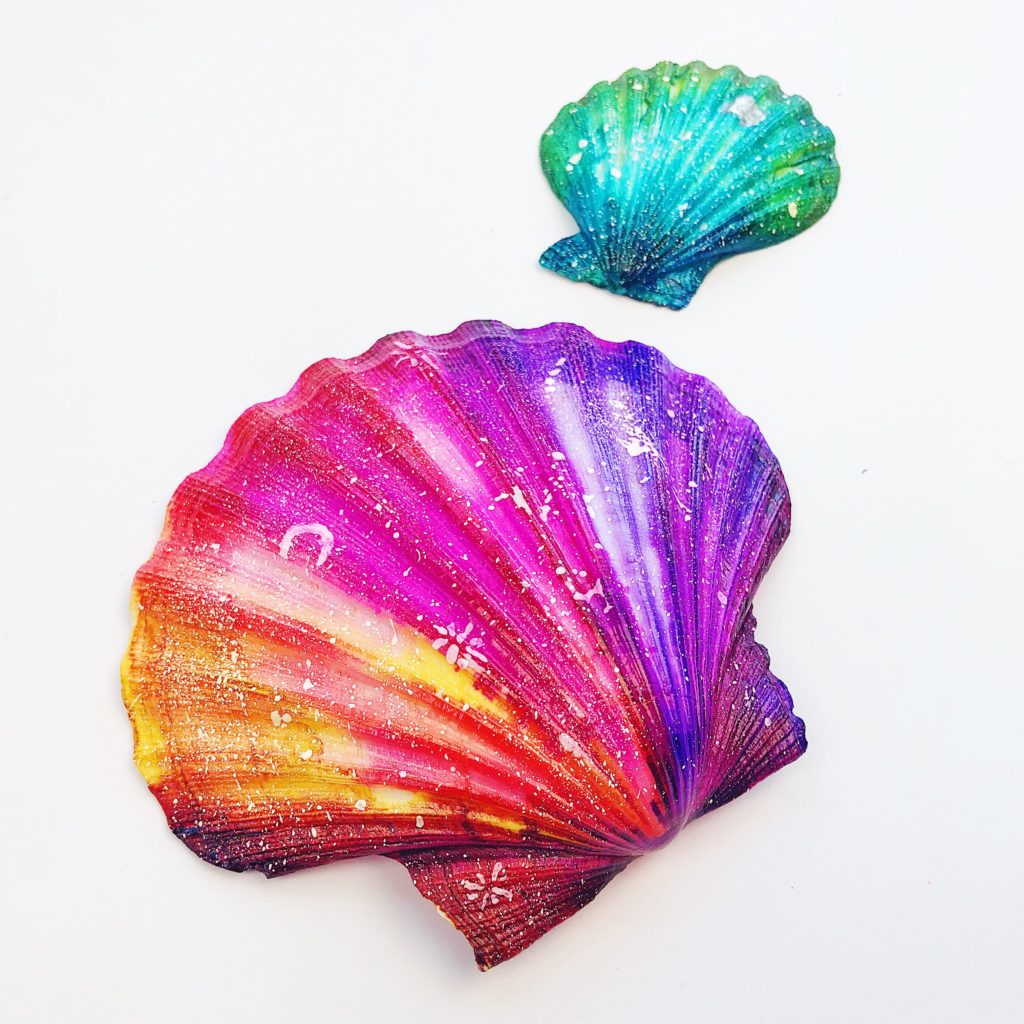 This alcohol inks project is not only great for adults, but would also be fun for grade-school kids and older. If you’re working with kids, remind them to not touch the alcohol ink until it’s dry. It definitely stains your fingers pretty easily, but will come off within a few hand washes.
Galaxy Painted Shells Supplies (affiliate links provided for convenience)
- White shells – Sounds easy enough but if you don’t have a beach nearby you can also buy great shells online like these: 3″ scallop shells, 4″ scallop shells or these and also these 5″ scallop shells. You just want to make sure your shells are white or light colored.
- Alcohol Inks – I love this alcohol inks set, and it’s a great beginner set because it has a ton of colors and is perfect for this project. I also have some various Tim Holtz alcohol ink colors. NOTE: Alcohol inks come in very small bottles but don’t be deceived, they last forever.
- Alcohol Blending Solution – This is what helps the alcohol inks spread. You can also use 91 isopropyl rubbing alcohol using a pipette or dropper instead, but I’ve found it doesn’t blend as well as the blending solution.
- White acrylic paint.
- Small paint brushes.
- Toothbrush – You use this to create stars.
- Sealant (optional) – I didn’t seal my finished shells, but if you want to seal yours, you can use Krylon Kamar Varnish. Most varnishes will cause alcohol inks to bleed, but this one won’t.
Galaxy Painted Shells Directions
- Start with a plain white shell. I set mine up on top of cardboard. You might even want to put something protective underneath the cardboard as alcohol inks can easily soak through.
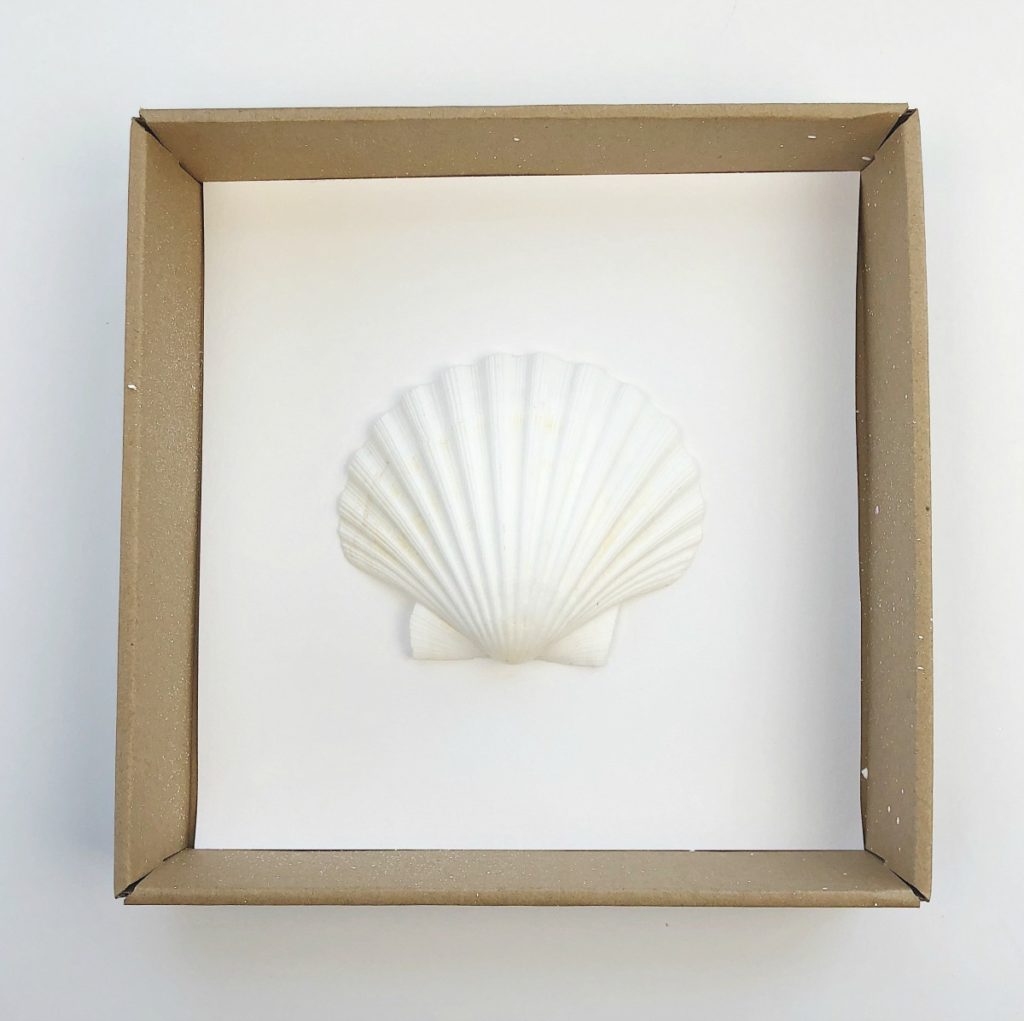
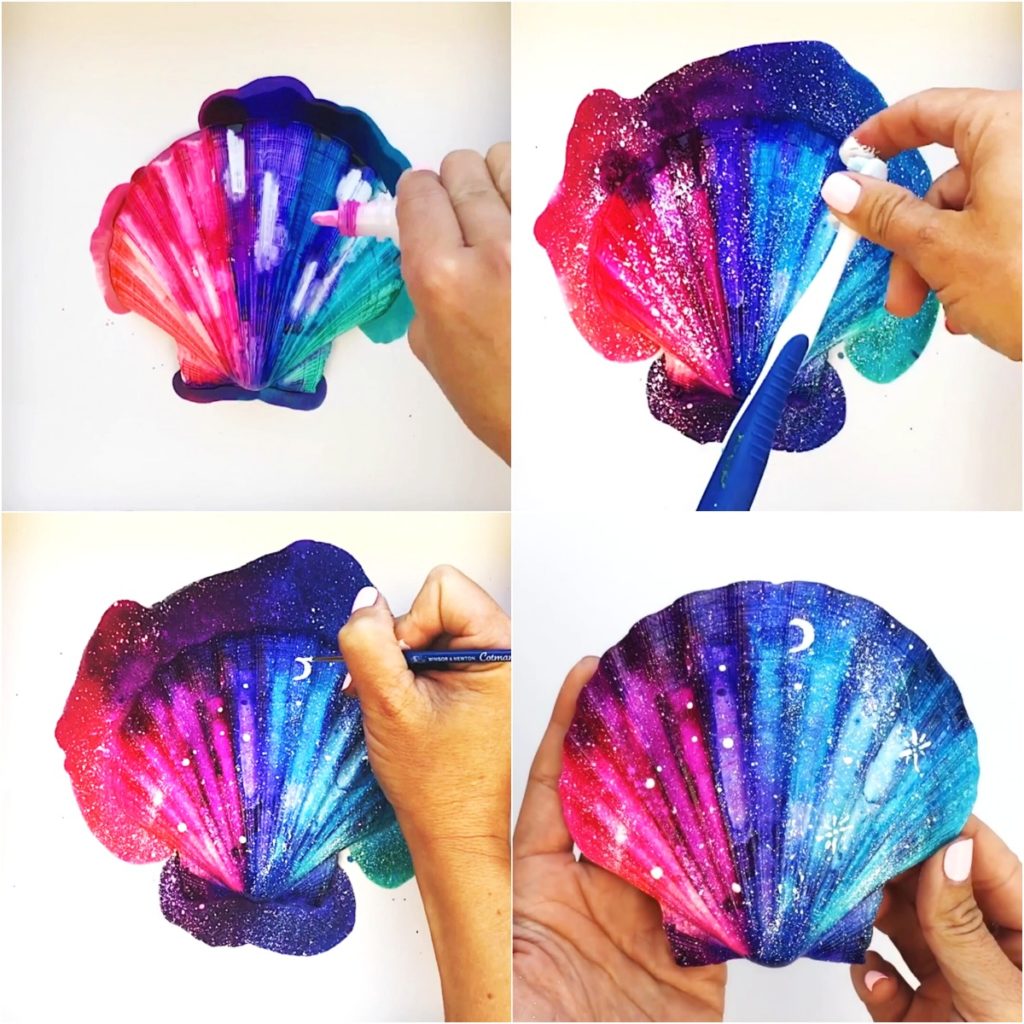
- Choose 3-4 alcohol ink colors. Start on one side of the shell and add each color as you work your way across the shell.
- Once all of the colors are on the shell, use the alcohol blending solution by just squirting it directly over the shell.
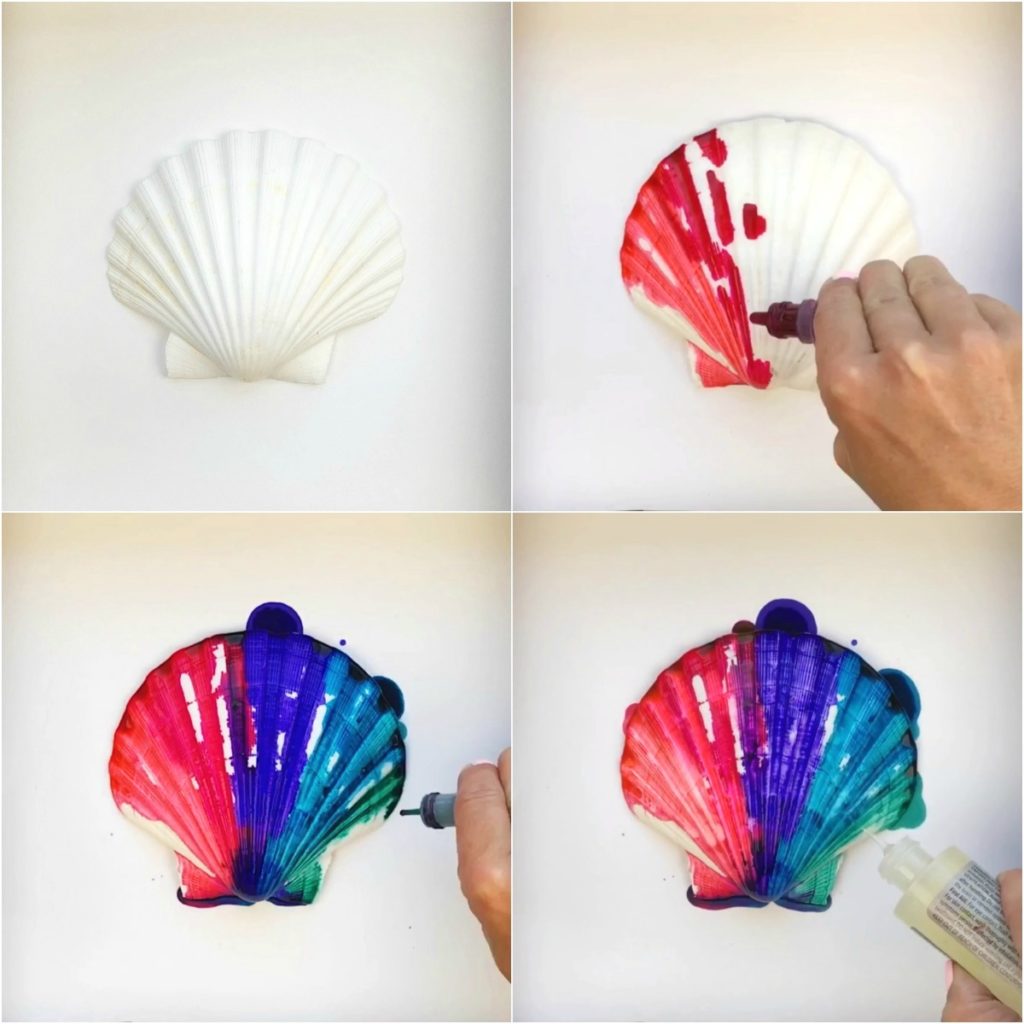
-
Next add white alcohol ink (it comes standard in this alcohol ink set)
- Let the shell dry completely. If you don’t let it dry before the next step, the paint will either soak into the ink or bleed.
- To add stars, apply a small amount of white acrylic paint to a toothbrush. Keep the bristles pointed away from you (you want them facing the shell), and run you finger up the bristles, gently flicking the paint onto your shell.
- Add larger stars and a moon using a small sized paint brush and acrylic paint.
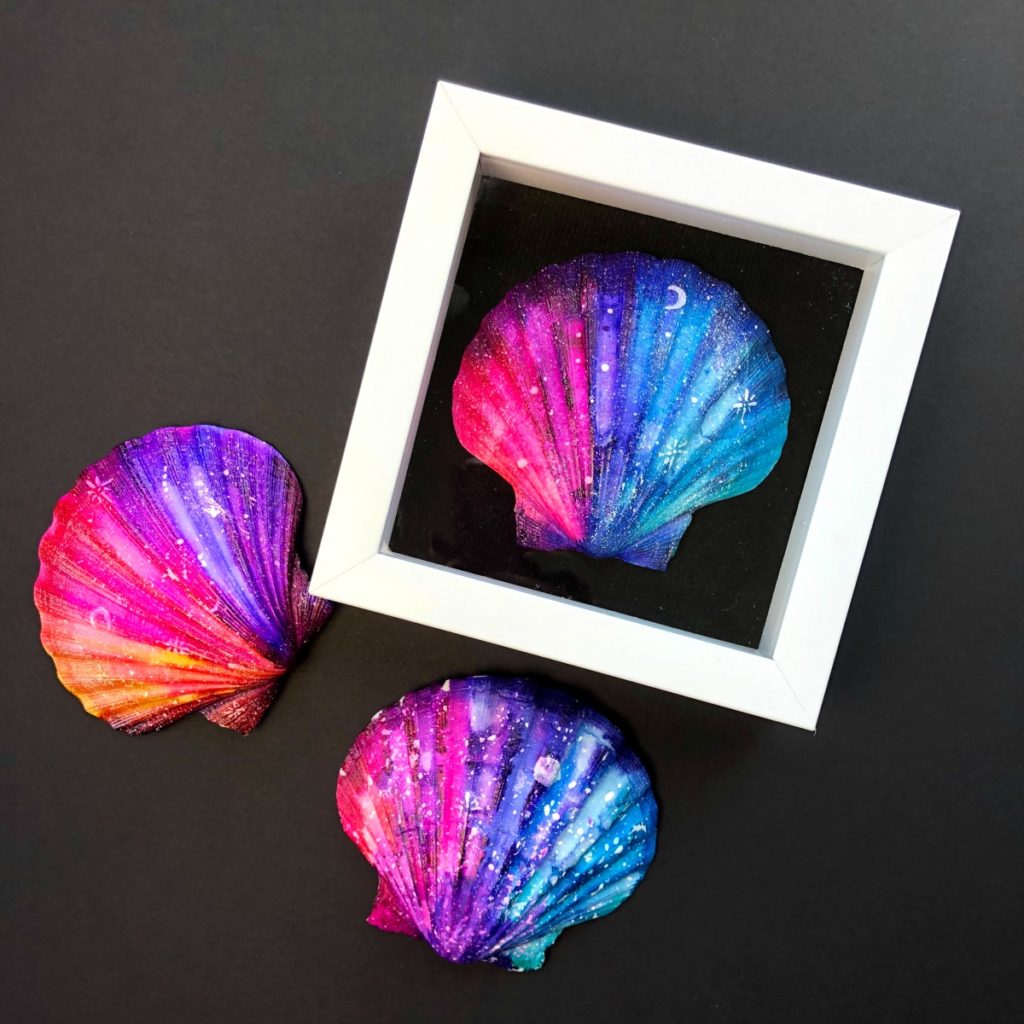
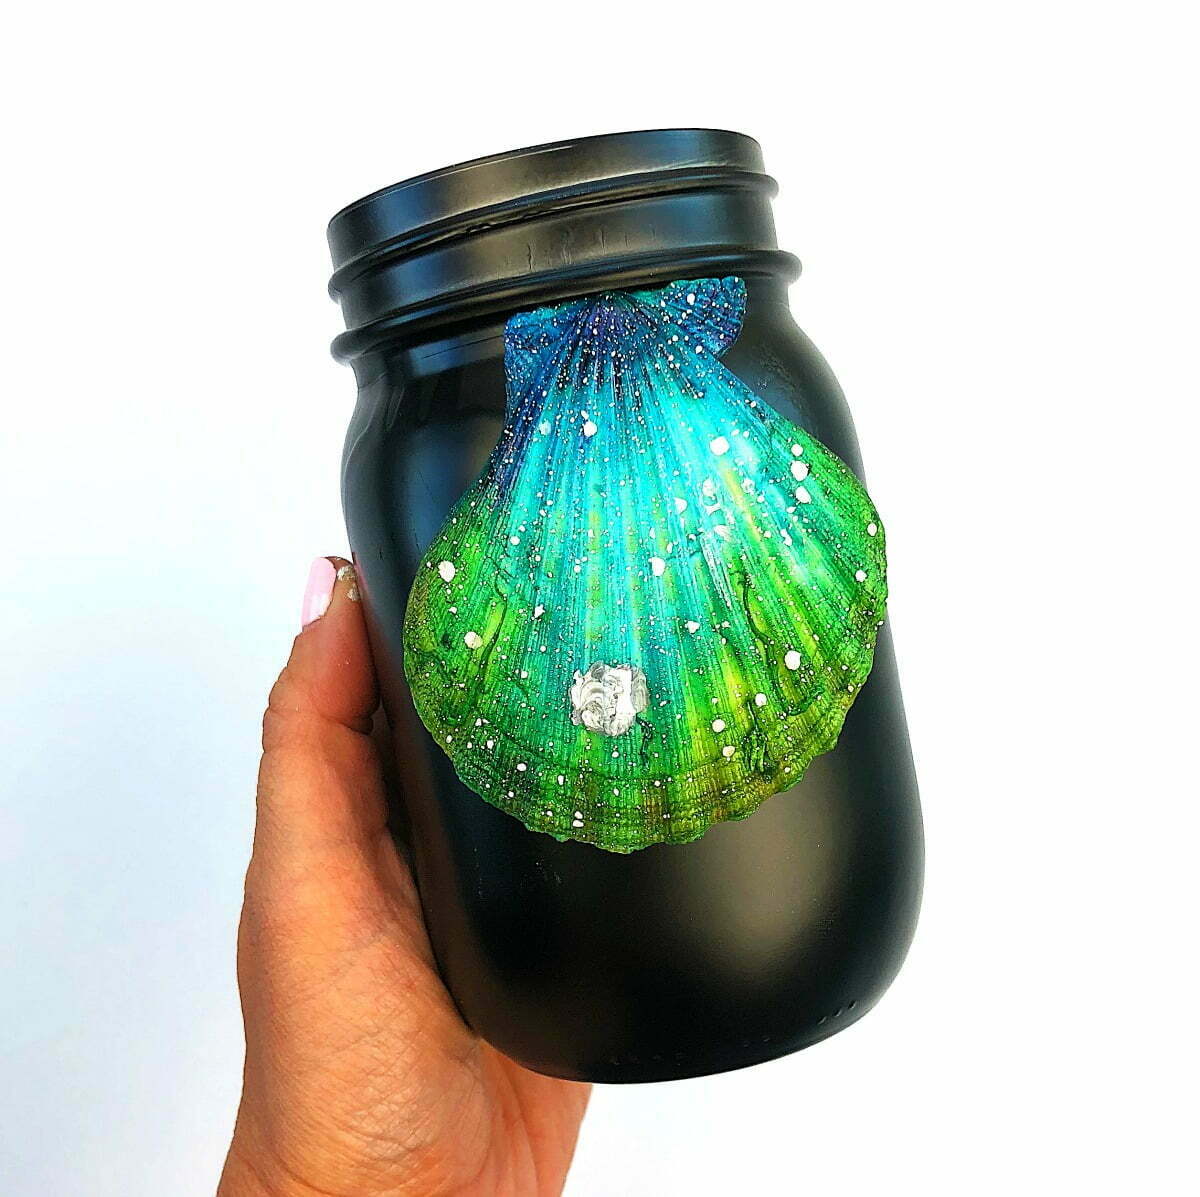
Once your galaxy painted shells are done you can use them for other craft projects or just keep them as is. I love how they look in shadow boxes. Smaller ones are also great for adding to jars or on top of boxes. To adhere to another surface, just use a strong glue like E6000 adhesive glue.
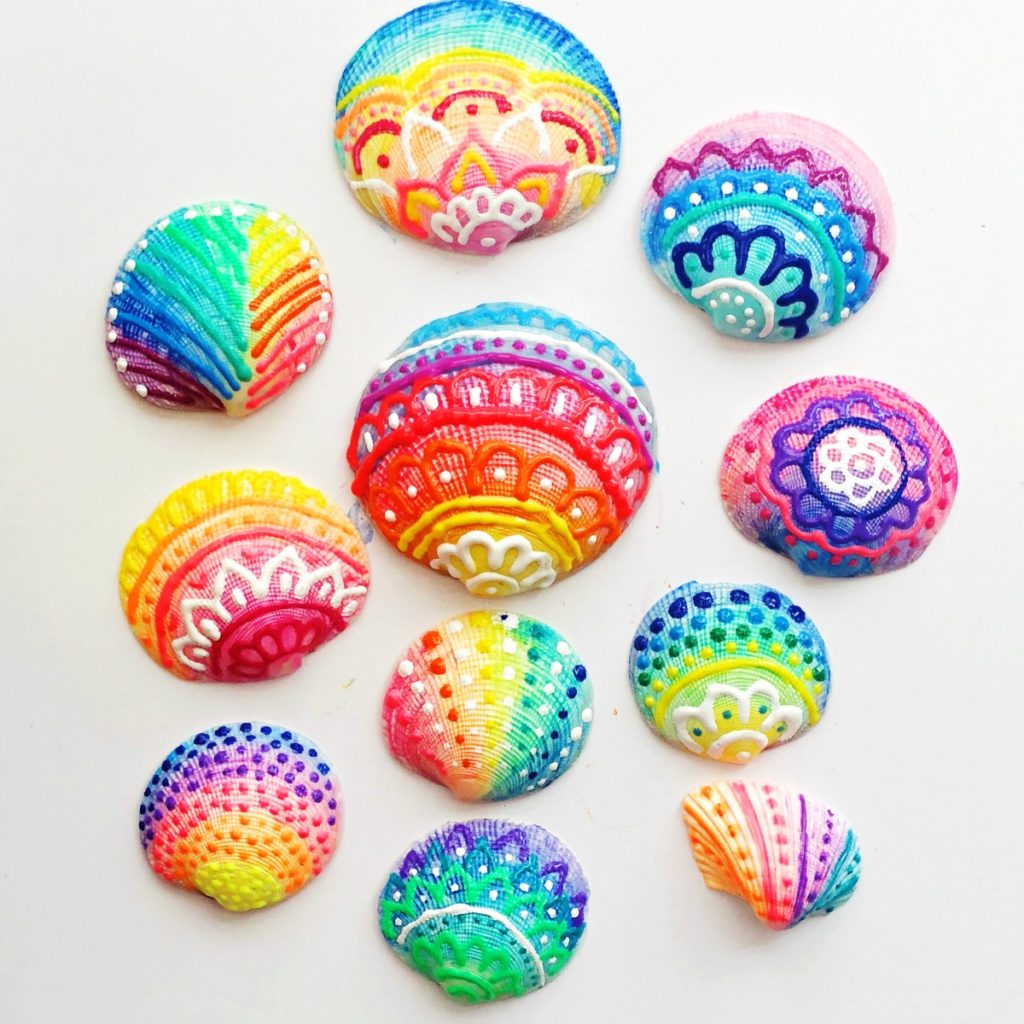
 If you like shell crafts, also check out my puffy paint shells here!
For more crafty and colorful projects visit my Instagram page or Facebook page. And if you make some galaxy painted shells using alcohol inks, come share your finished shells. I love featuring projects that were inspired by my tutorials with my followers.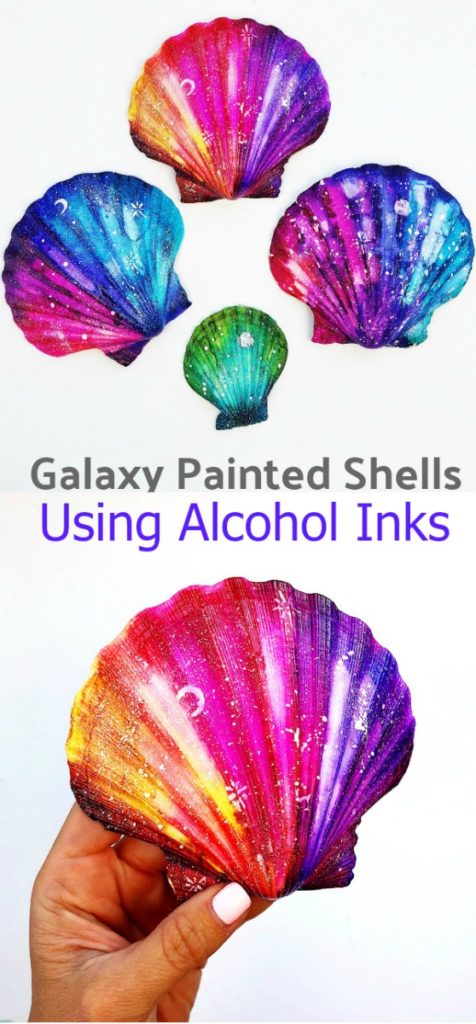

3 Comments